Torque tube bearing replacement.
Posted: 12 Jul 2014 06:19 pm
The bearings were shot in my torque tube, horrible rumble from it when in neutral. I have set about replacing the bearings, this is not for the faint of heart. Serious labour is involved. This took me half a day (not counting removal from car) and I needed the help of a second person to sit on it for hours while I wound the things out. (Make sure to bring a present for the wife before asking)  I told mine if she was going to sit on her backside on a Saturday then she may as well be helping me while she did it.
Here is what I used.
A 3m long m16 threaded bar. This cost me €24.
5 x m16 nuts. 30c each.
A spin lock from some dumbells. Free.
A large washer I had lying around.
A couple of lawnmower blades I had lying around. Cut to size.
A few blocks of wood.
2 x 24mm spanners.
A bit of old 15w40 I had lying around.
All the energy I had set aside for the rest of the year.
The night before I poured about a half liter of oil in and tried to make sure it coated all the way down.It didn't work as expected. More on that later.
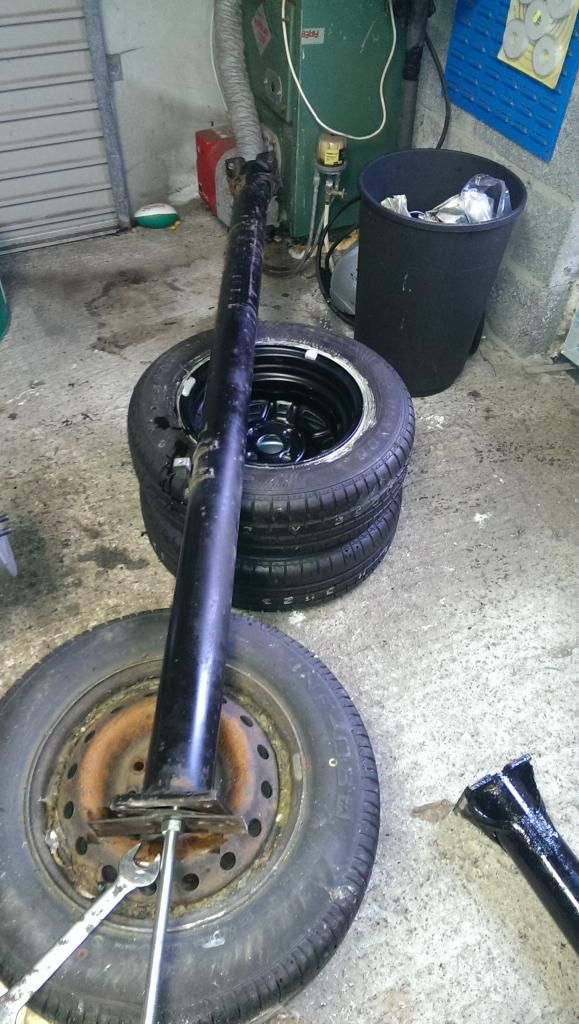
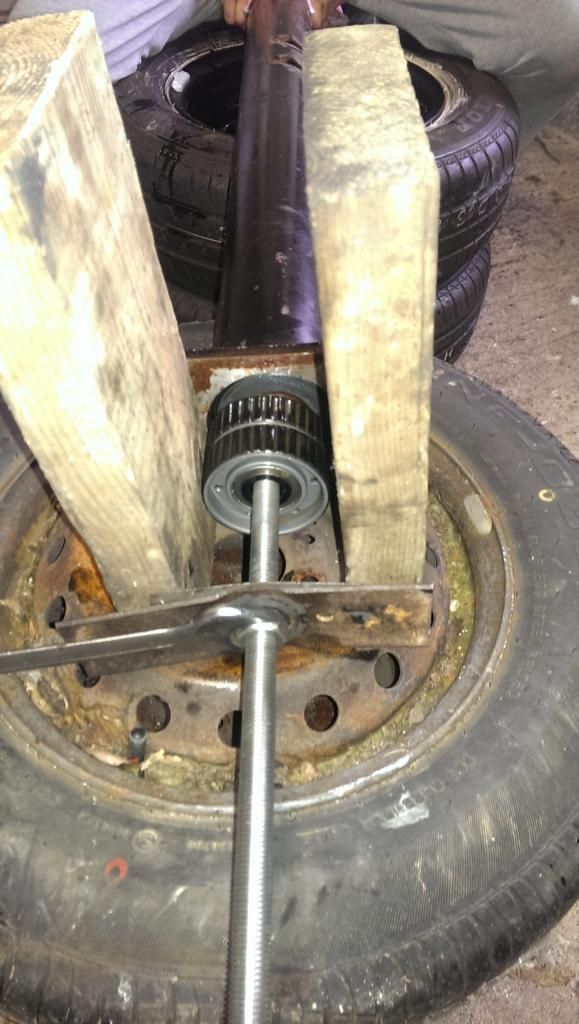
I ran the threaded bar up the center of the tube and put the spinlock from the dumbells on, this is weighty and was to act as the puller. I put a washer behind that and then locked two nuts together. Then at the front of the tube I used the lawmower blades to hold my locknut and further up the bar I locked a further 2 nuts together.
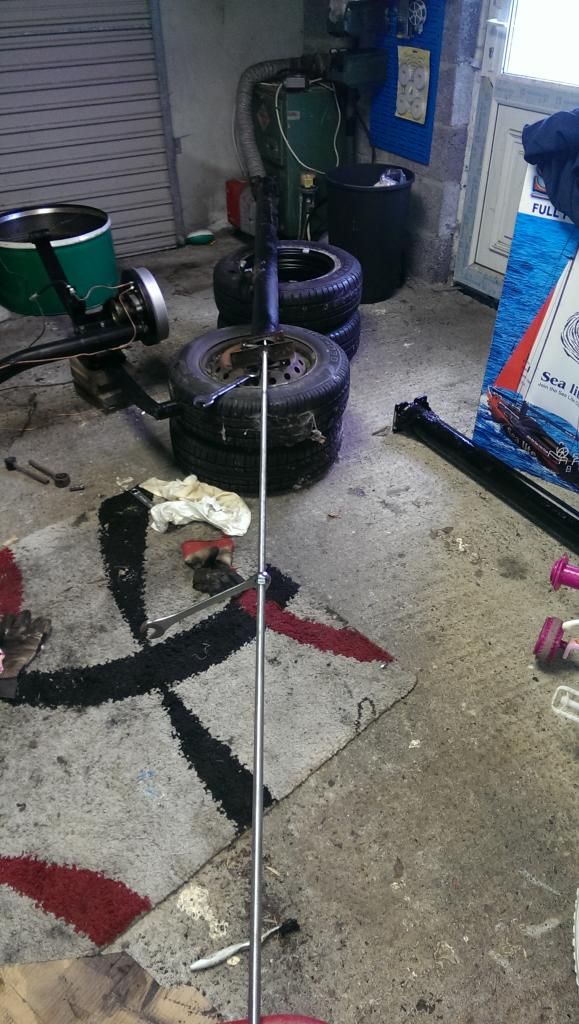
3 meter rod was too long really, could have cut it down a bit but I just propped one end on a mop bucket, this helped when turning as it didn't move around too much. Having the front locknuts half way between the bucket and the tyre gave me room to turn it and stopped me bending the rod too much.
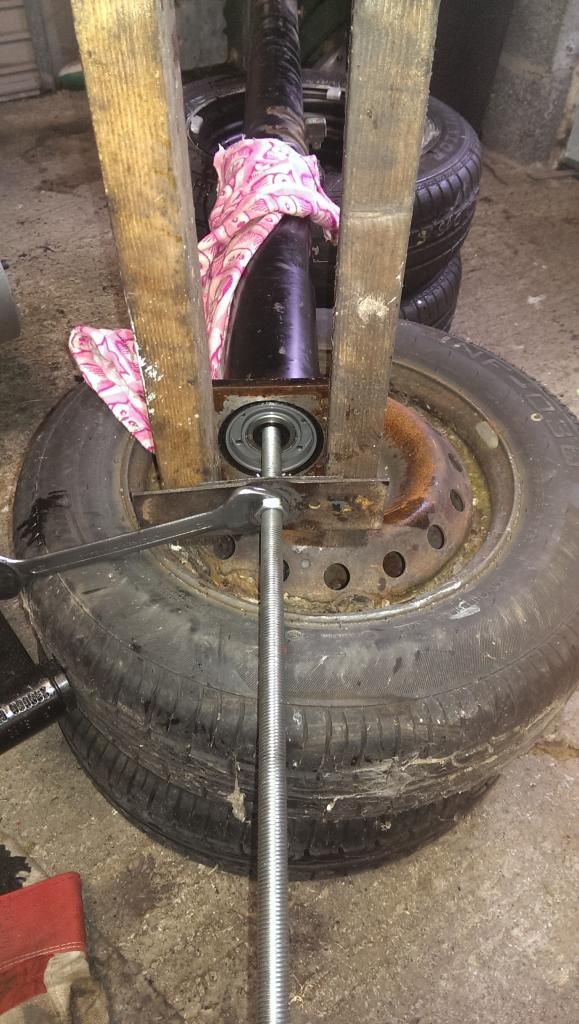
Here you can see the lawnmower blades and lock nut. I got the my better half to sit on the tube and hold this nut still with the spanner. Welding the nut to the blade would have been easier but I have no gas yet for my welder.
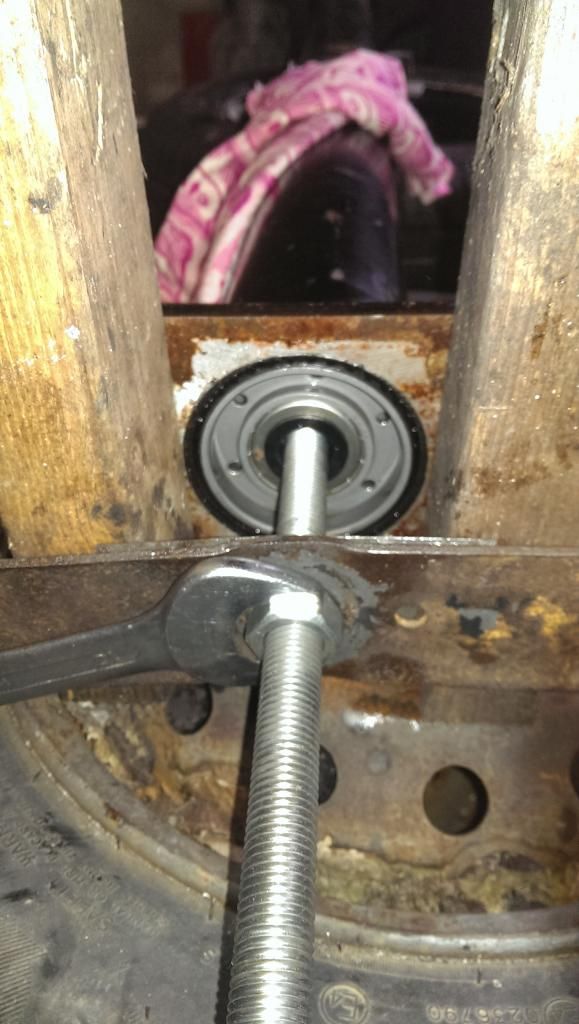
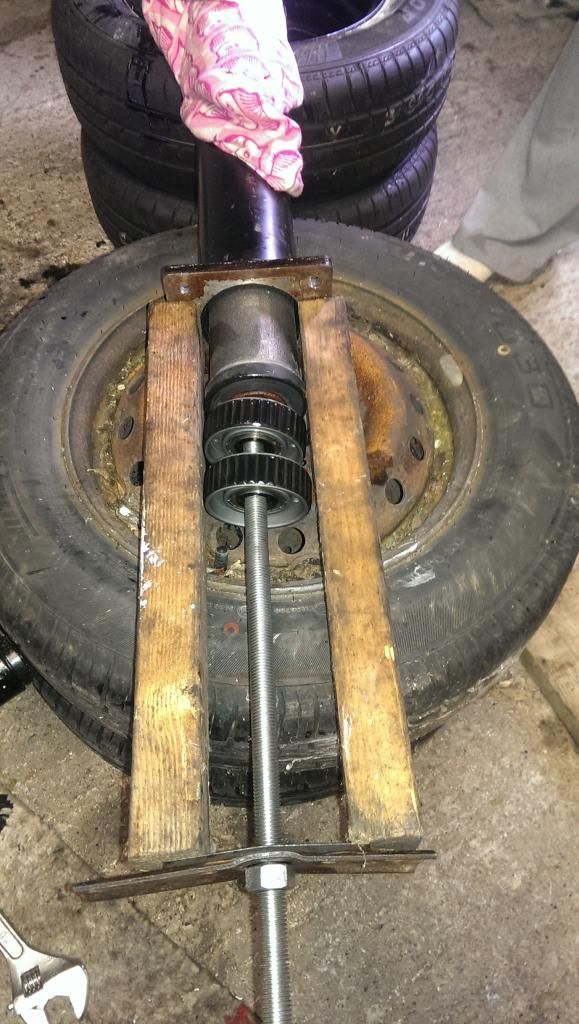
The winding wasn't too difficult at first, then the first bearing caught what I thought was the second bearing. Things got difficult here, eventually the shirt came off and sweat was pouring off me. Lots of breaks, lots of chocolate to keep the energy going. This was really bloody hard. It got harder. After a good few hours of turning and a lovely blister on the palm of my hand I got to here.
I added a couple of bit of wood to give it room and carried on turning. I wasn't sure how wide these carriers were, realised after the first one came out and added some wider wood. If you look closely at what should be the third bearing (according to everything I have read and every diagram I have seen) it looks a bit alien. And it was....
It just seemed to keep on coming, starting to feel like I'm in a Ridley Scott movie, I made the spacers much longer to accommodate the birthing of this strange beast.
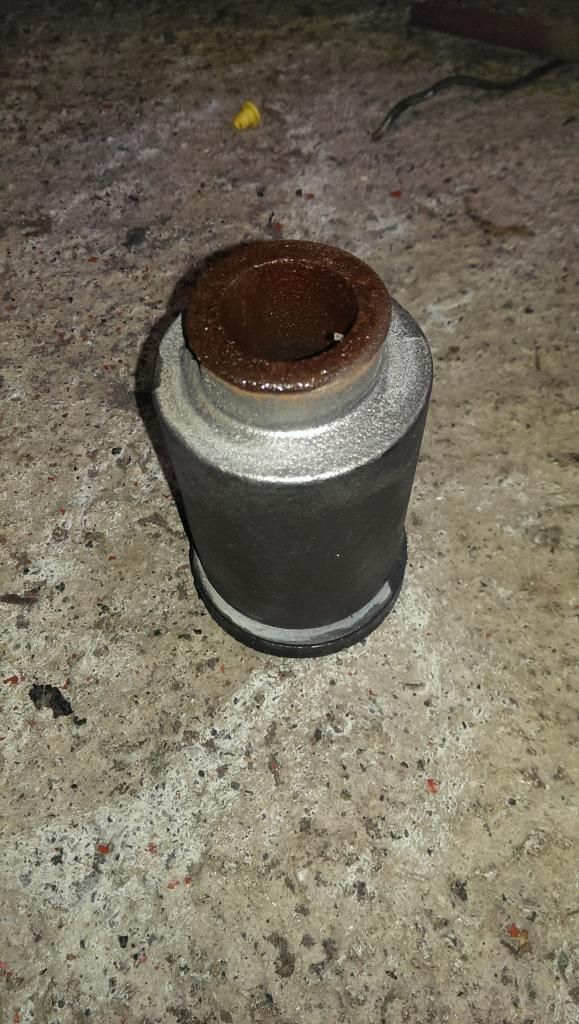
Eventually it all came out, what the hell is this thing?
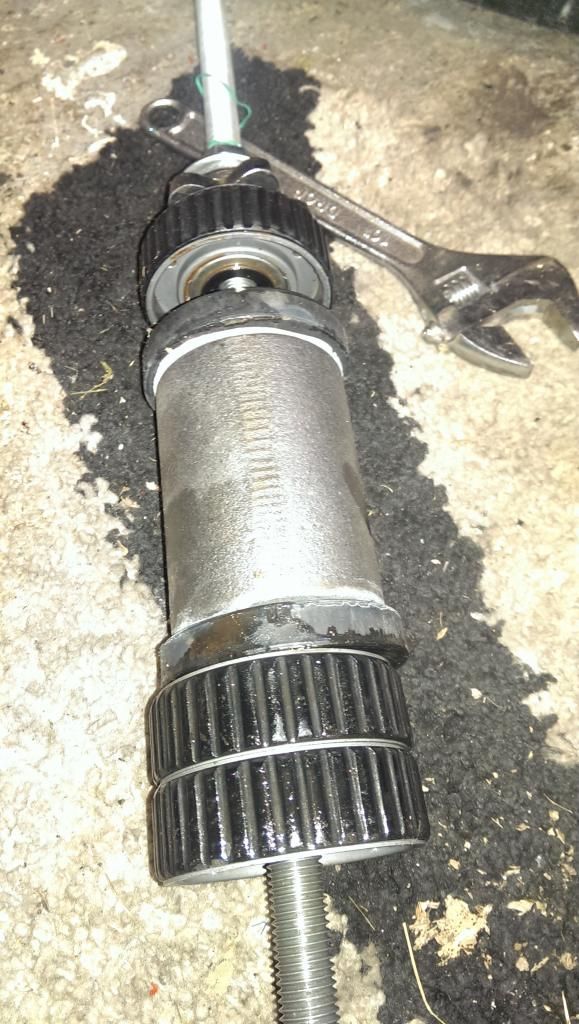
It is the reason the oil wouldn't go down the tube, and the reason the pulling was so bloody difficult. It is a big lump of metal with 2 rubber rings on it. Nothing more. No idea why. It has a volvo part number on it.
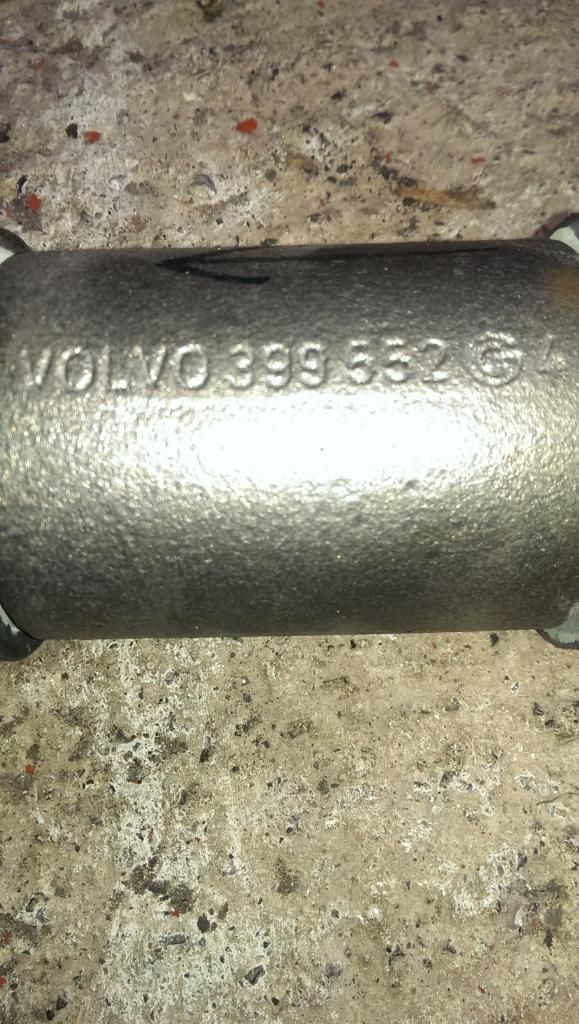
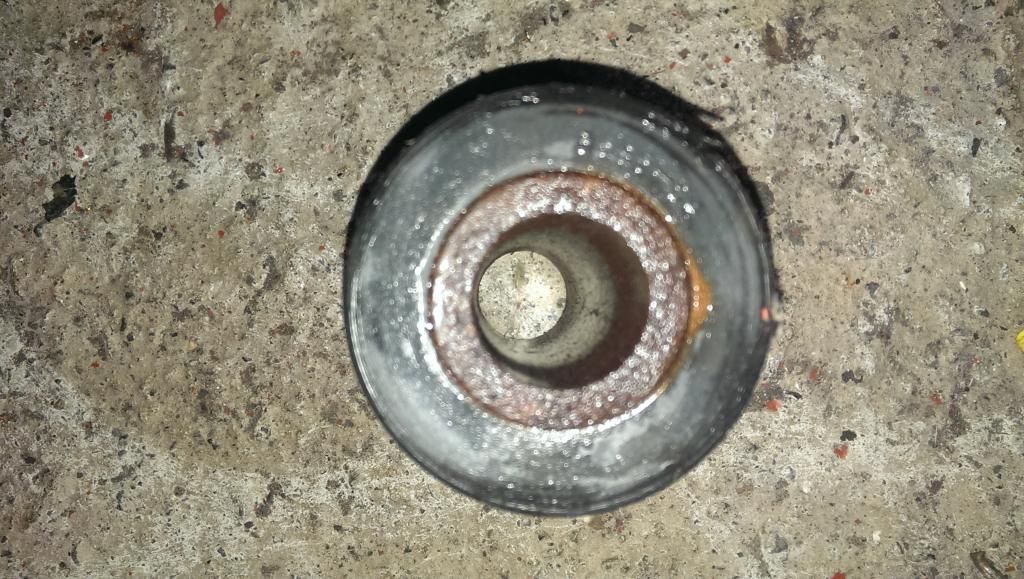
Rusty as hell inside, just a solid lump. Weighs about 2kg.
With the ring removed.
I though it would be an easy task to just press out the sleeves, press out the bearings and press new ones in. Not so, the casing has a lip on both sides and looks to be rivetted together. The casing have a part number from INA so my local bearing supplier is chasing the number. It is INA F-58114. The bearing inside is INA 6005z, a very common bearing available off the shelf at my local shop for €7.
Front. (Facing clutch end)
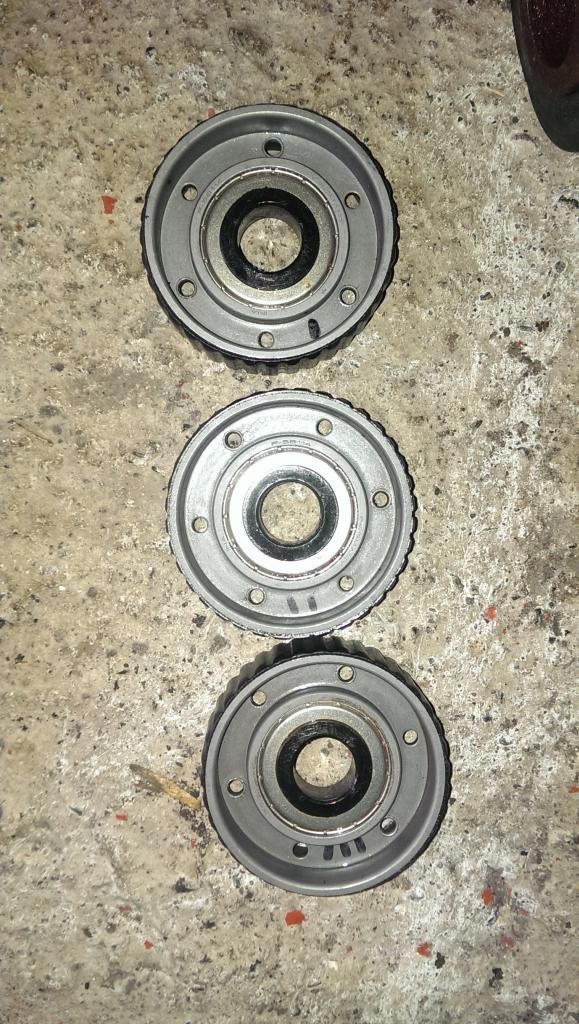
Rear. (Facing gearbox)
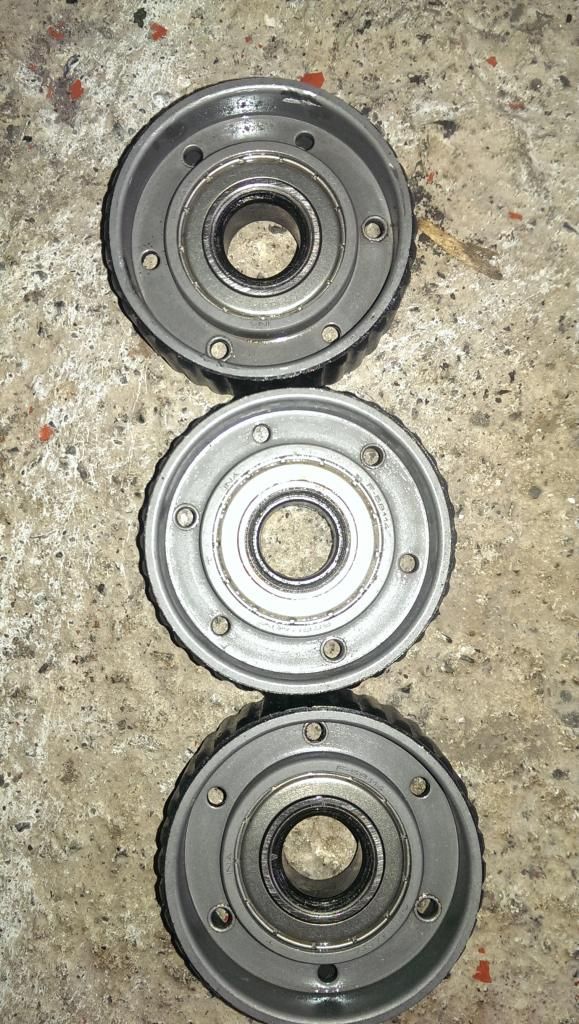
All in all, happy enough. Now to work out how to seperate the bearing casings without damaging them. I may have to modify them as the rivets seem to be offset. The outer rubber is just held in place iside a lip on either side and looks like it will just prise out.
Had enough for now, will keep this updated as progress is made.
Here is what I used.
A 3m long m16 threaded bar. This cost me €24.
5 x m16 nuts. 30c each.
A spin lock from some dumbells. Free.
A large washer I had lying around.
A couple of lawnmower blades I had lying around. Cut to size.
A few blocks of wood.
2 x 24mm spanners.
A bit of old 15w40 I had lying around.
All the energy I had set aside for the rest of the year.
The night before I poured about a half liter of oil in and tried to make sure it coated all the way down.It didn't work as expected. More on that later.
I ran the threaded bar up the center of the tube and put the spinlock from the dumbells on, this is weighty and was to act as the puller. I put a washer behind that and then locked two nuts together. Then at the front of the tube I used the lawmower blades to hold my locknut and further up the bar I locked a further 2 nuts together.

3 meter rod was too long really, could have cut it down a bit but I just propped one end on a mop bucket, this helped when turning as it didn't move around too much. Having the front locknuts half way between the bucket and the tyre gave me room to turn it and stopped me bending the rod too much.

Here you can see the lawnmower blades and lock nut. I got the my better half to sit on the tube and hold this nut still with the spanner. Welding the nut to the blade would have been easier but I have no gas yet for my welder.
The winding wasn't too difficult at first, then the first bearing caught what I thought was the second bearing. Things got difficult here, eventually the shirt came off and sweat was pouring off me. Lots of breaks, lots of chocolate to keep the energy going. This was really bloody hard. It got harder.


I added a couple of bit of wood to give it room and carried on turning. I wasn't sure how wide these carriers were, realised after the first one came out and added some wider wood. If you look closely at what should be the third bearing (according to everything I have read and every diagram I have seen) it looks a bit alien. And it was....

It just seemed to keep on coming, starting to feel like I'm in a Ridley Scott movie, I made the spacers much longer to accommodate the birthing of this strange beast.

Eventually it all came out, what the hell is this thing?

It is the reason the oil wouldn't go down the tube, and the reason the pulling was so bloody difficult. It is a big lump of metal with 2 rubber rings on it. Nothing more. No idea why. It has a volvo part number on it.

Rusty as hell inside, just a solid lump. Weighs about 2kg.

With the ring removed.

I though it would be an easy task to just press out the sleeves, press out the bearings and press new ones in. Not so, the casing has a lip on both sides and looks to be rivetted together. The casing have a part number from INA so my local bearing supplier is chasing the number. It is INA F-58114. The bearing inside is INA 6005z, a very common bearing available off the shelf at my local shop for €7.
Front. (Facing clutch end)

Rear. (Facing gearbox)

All in all, happy enough. Now to work out how to seperate the bearing casings without damaging them. I may have to modify them as the rivets seem to be offset. The outer rubber is just held in place iside a lip on either side and looks like it will just prise out.
Had enough for now, will keep this updated as progress is made.


