Hi,
I don't think rose joint will be good idea.
It will be god for race car and so on but for everyday car, you will be replacing more than you want.
Since you got poly bush, why don't you use it and fit MX-5 bolts?
You said that you family can help, then I get laser cut done and you need to weld 4 plate and slot where bottom arm is mounted. The you have adjustable bottom arms, easy!
I will design one soon for Matt, so you can buy off me and build one yourself.
Cheers
Atchi
Portly - B43 GHH (Picture Heavy)
-
Attack2001
- Posts: 1015
- Joined: 05 Jun 2011 03:45 pm
- Location: Rochester, Kent
- Contact:
Re: Portly - B43 GHH (Picture Heavy)
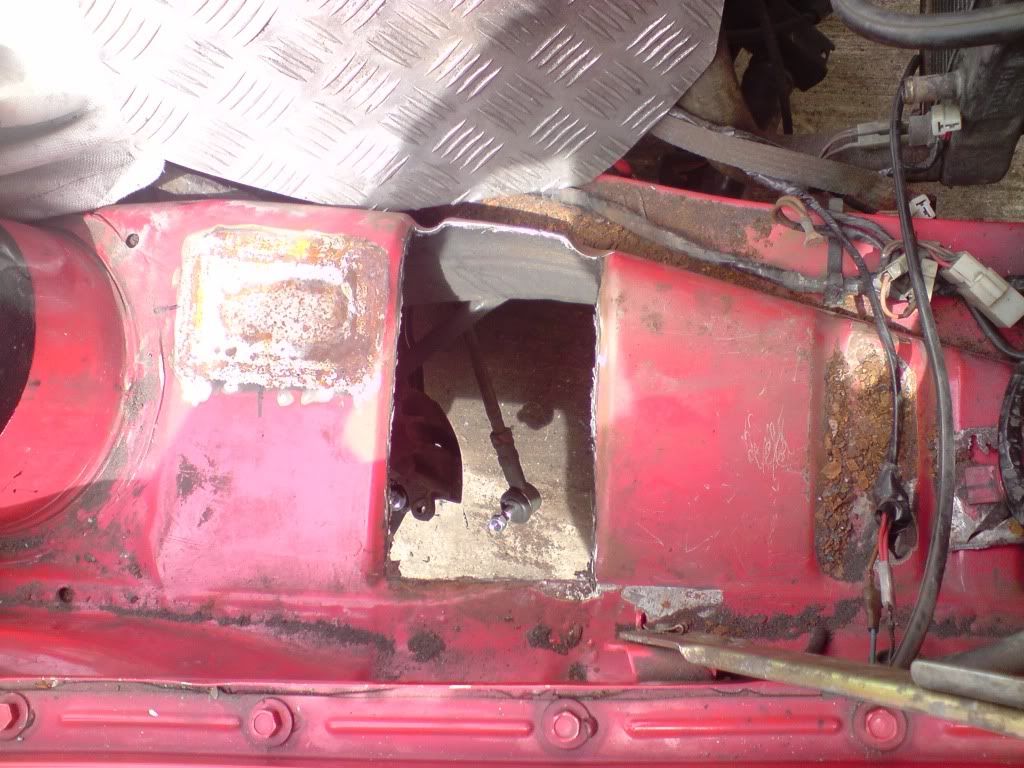
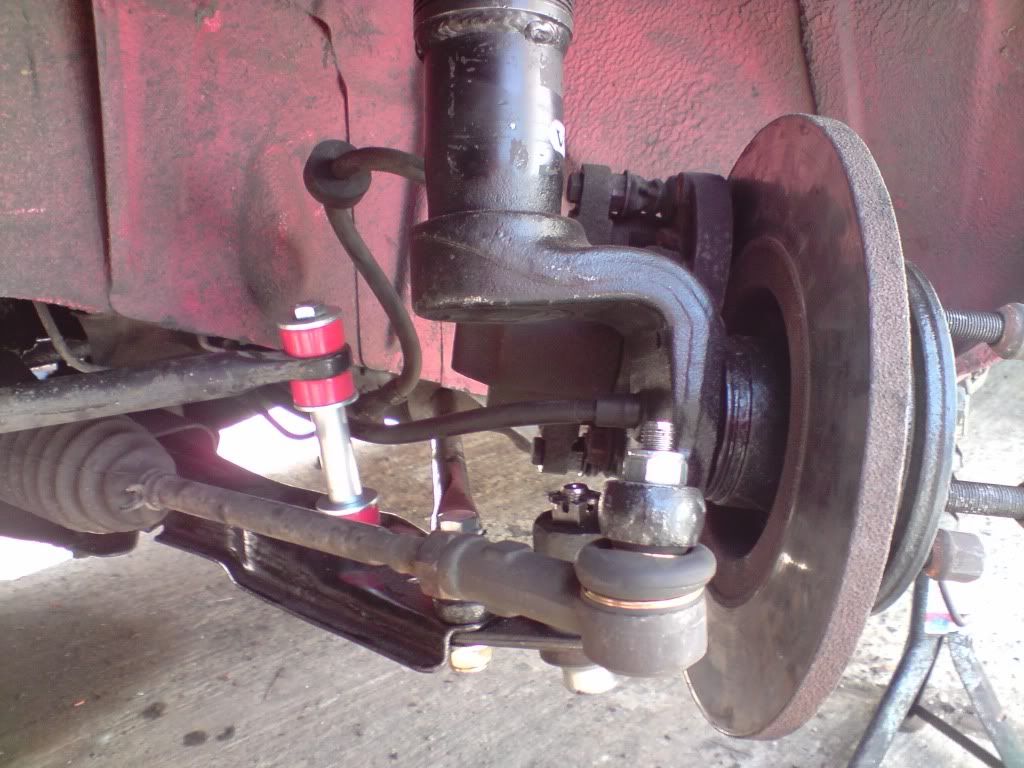
The thing is, because of the lowered nature of the car, the lower arms are at an extreme angle. I need to raise one end of the lower arm, and lower the other end to bring it back to near parallel to cancel out bump/roll steer. The only way i can see this being able to be done is with the use of rose joints, essentially a 'spacer' at the ball joint end, and then re-drilling the hole for the lower arm mount on the chassis. This will take one end down, the other end up and will bring the lower arm back to near parallel. I cant see how this can achieved using standard lower arms.miniswift wrote:Hi,
I don't think rose joint will be good idea.
It will be god for race car and so on but for everyday car, you will be replacing more than you want.
Since you got poly bush, why don't you use it and fit MX-5 bolts?
You said that you family can help, then I get laser cut done and you need to weld 4 plate and slot where bottom arm is mounted. The you have adjustable bottom arms, easy!
I will design one soon for Matt, so you can buy off me and build one yourself.
Cheers
Atchi
Thomas....................
-
Hell Driver

- Posts: 1415
- Joined: 18 Aug 2009 09:58 pm
- Location: Doncaster UK
Re: Portly - B43 GHH (Picture Heavy)
Thats a massive amoumt of work done already, good to see it all in one on this thread!
360 GLE Saloon (D 86)
360 GLS (A 84)
343 DL (W 80)
340 GL 1.7 (G 89)
360 GLS (Y 83)
440 Turbo (J 92)
Transit Tipper 125 T350 (02)Alive Again!
Transit Tipper Smiley face Q reg
Mitsubishi Colt 1.1 (54)
R.I.P. 77 343 DL vario
360 GLS (A 84)
343 DL (W 80)
340 GL 1.7 (G 89)
360 GLS (Y 83)
440 Turbo (J 92)
Transit Tipper 125 T350 (02)Alive Again!
Transit Tipper Smiley face Q reg
Mitsubishi Colt 1.1 (54)
R.I.P. 77 343 DL vario
-
Attack2001
- Posts: 1015
- Joined: 05 Jun 2011 03:45 pm
- Location: Rochester, Kent
- Contact:
Re: Portly - B43 GHH (Picture Heavy)
CheersHell Driver wrote:Thats a massive amoumt of work done already, good to see it all in one on this thread!
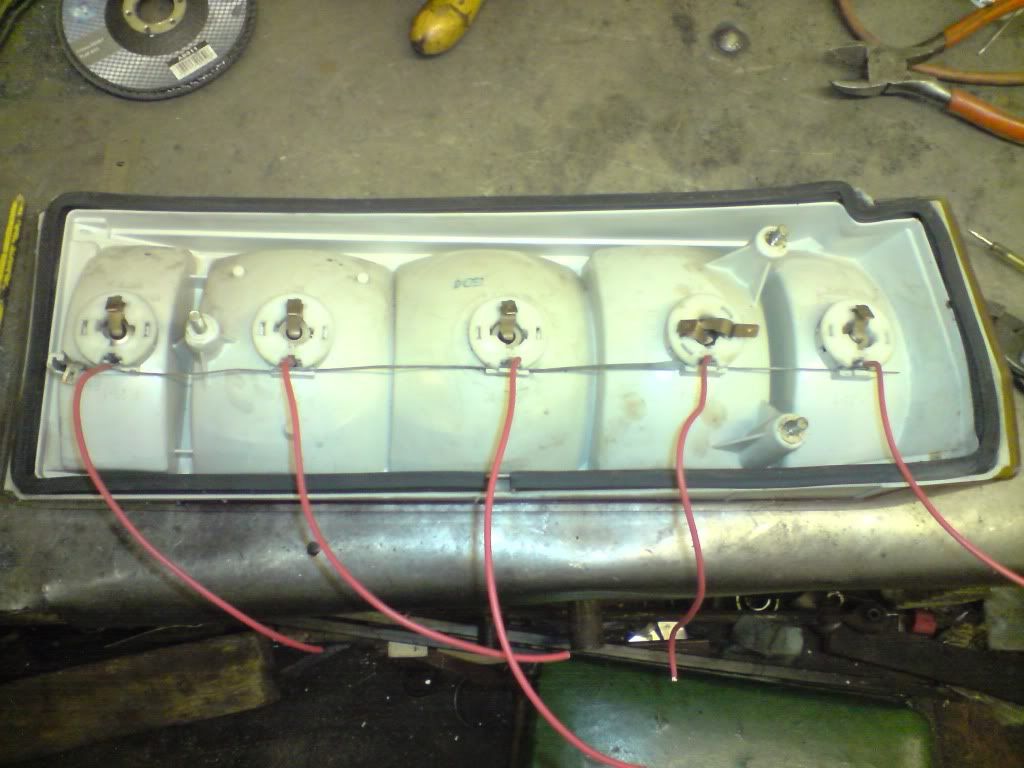
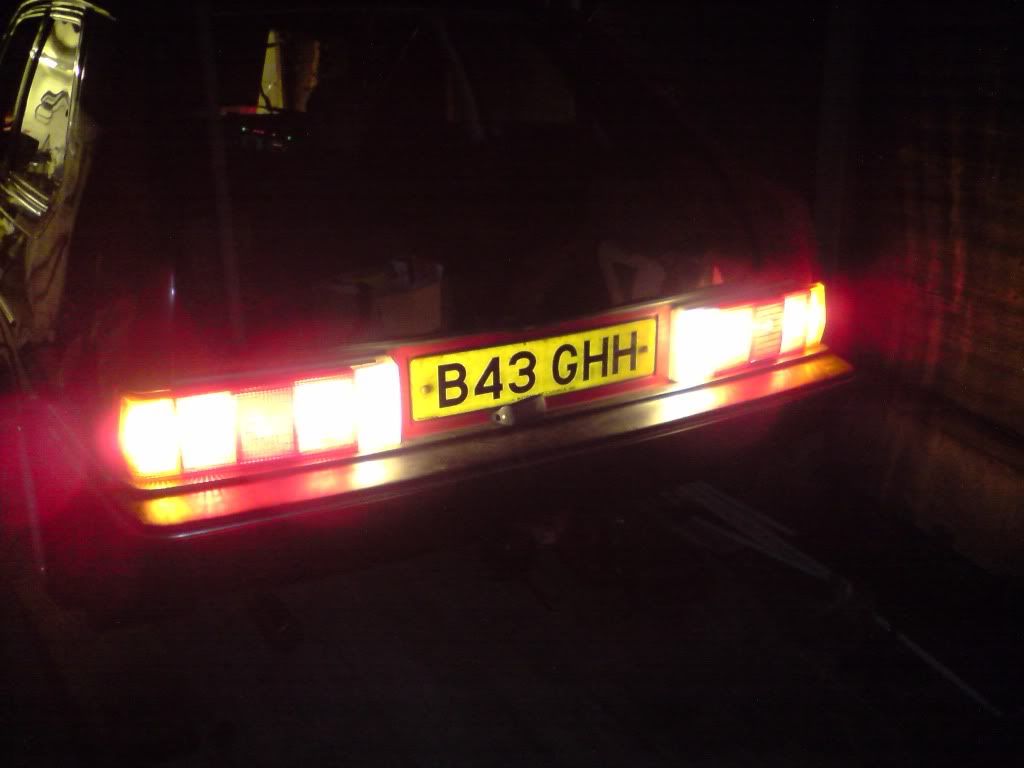
Anyway, the night is still young, well, sort of. Rear light cluster earth problems sorted! WOOP
Thomas..................
Re: Portly - B43 GHH (Picture Heavy)
looking good mate, im going have to attack my earth problem soon lol
Re: Portly - B43 GHH (Picture Heavy)
Hi,
I made my '68 Mini front suspension like you have said.
I moved everything up by 1" so before I do anything to suspension setup, it is already lowered.
You will need to modify bottom subframe rather than bottom arms. 300 are using struts right, so you can use either shorten one or move mounting hole like you did.
My suspensions are now fully adjustable fron and back... this is Mini talk!
Cheers
Atchi
-
Attack2001
- Posts: 1015
- Joined: 05 Jun 2011 03:45 pm
- Location: Rochester, Kent
- Contact:
Re: Portly - B43 GHH (Picture Heavy)
I would say its well worth doing, as just the bulb holder coming loose slightly and the bloody things stop working! The amount of times i've checked the lights, not working... jiggle the bulb holder, ooh look light comes onwiganer31 wrote:looking good mate, im going have to attack my earth problem soon lol
miniswift wrote:Hi,
I made my '68 Mini front suspension like you have said.
I moved everything up by 1" so before I do anything to suspension setup, it is already lowered.
You will need to modify bottom subframe rather than bottom arms. 300 are using struts right, so you can use either shorten one or move mounting hole like you did.
My suspensions are now fully adjustable fron and back... this is Mini talk!
Cheers
Atchi
Sounds just like im thinking
Thomas....................
Re: Portly - B43 GHH (Picture Heavy)
Feature worthy! I can see this in Retro Cars
Fantastic work Tom, lots of effort and commitment with those late nights, but its all been rewarded!
Fantastic work Tom, lots of effort and commitment with those late nights, but its all been rewarded!

-
Attack2001
- Posts: 1015
- Joined: 05 Jun 2011 03:45 pm
- Location: Rochester, Kent
- Contact:
Re: Portly - B43 GHH (Picture Heavy)
CheersEvoman wrote:Feature worthy! I can see this in Retro Cars
Fantastic work Tom, lots of effort and commitment with those late nights, but its all been rewarded!
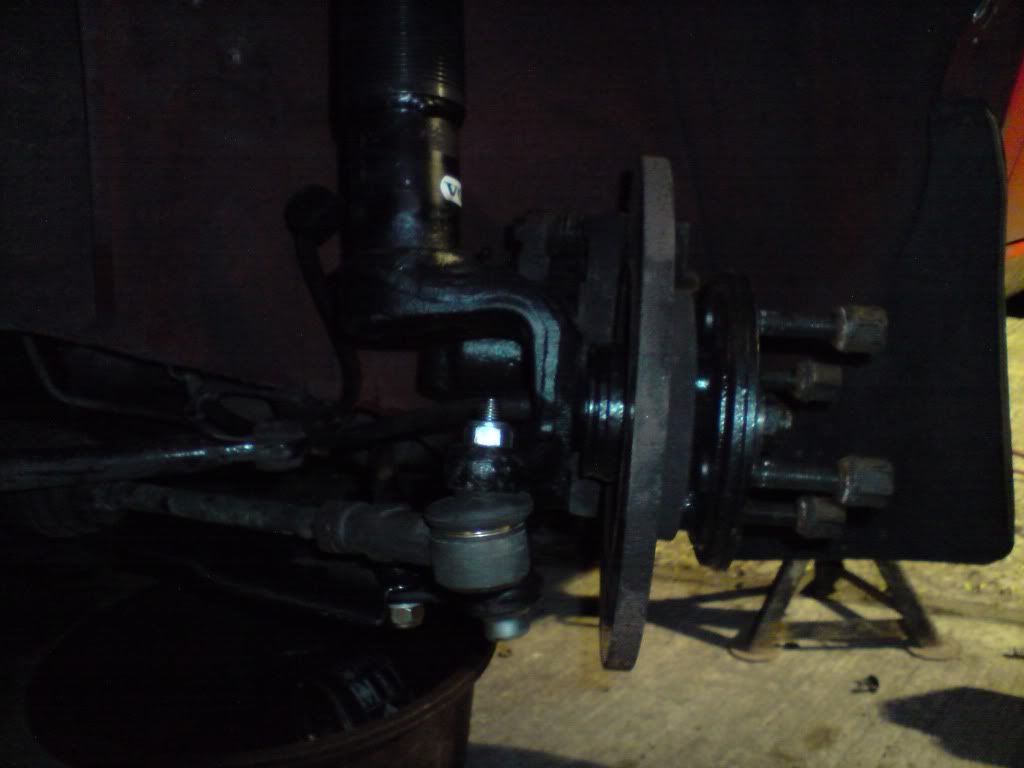
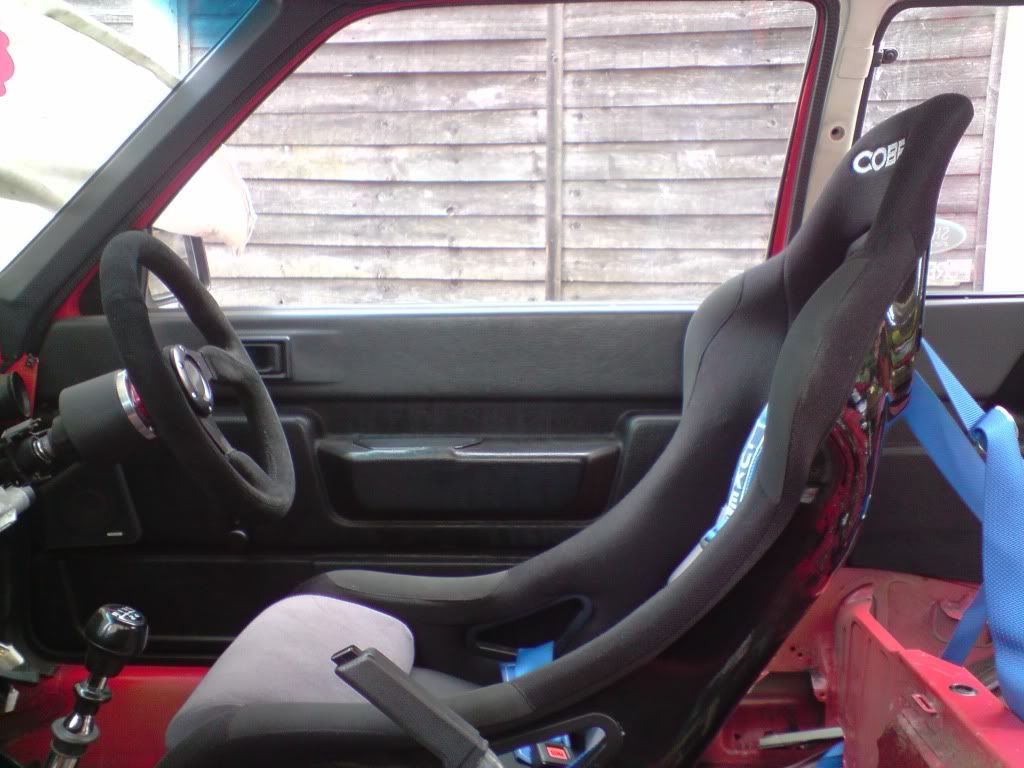
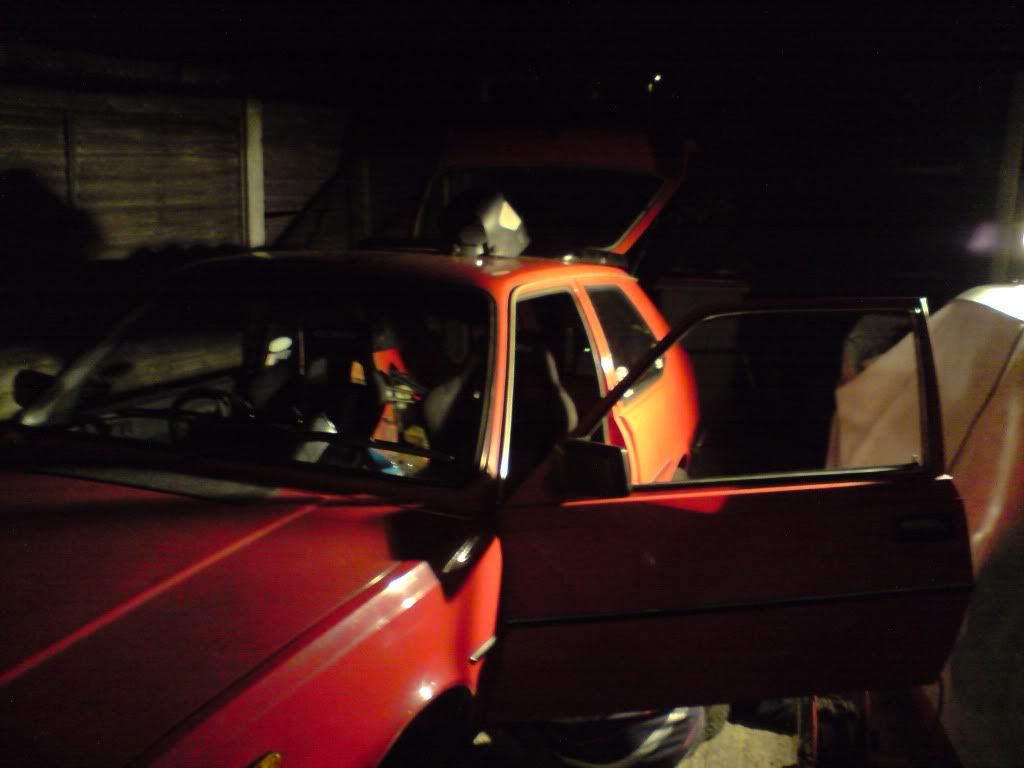
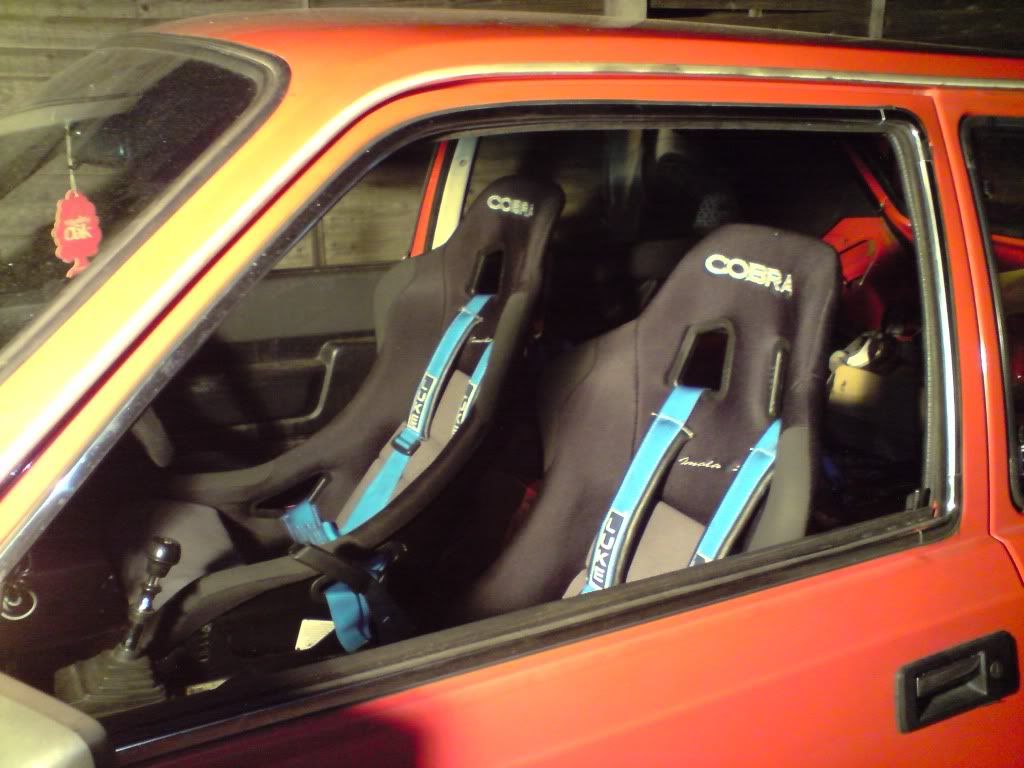
Been busy today. Got the second bucket seat in, got all the harness eyes welded in, got both front struts off, driverside turret painted and sealed. Passenger side all torqued up. Smiths speedo cable in and had a go at grinding back and rolling the inner edge of the arch, which came out quite nicely
Got the new track rod ends on as well
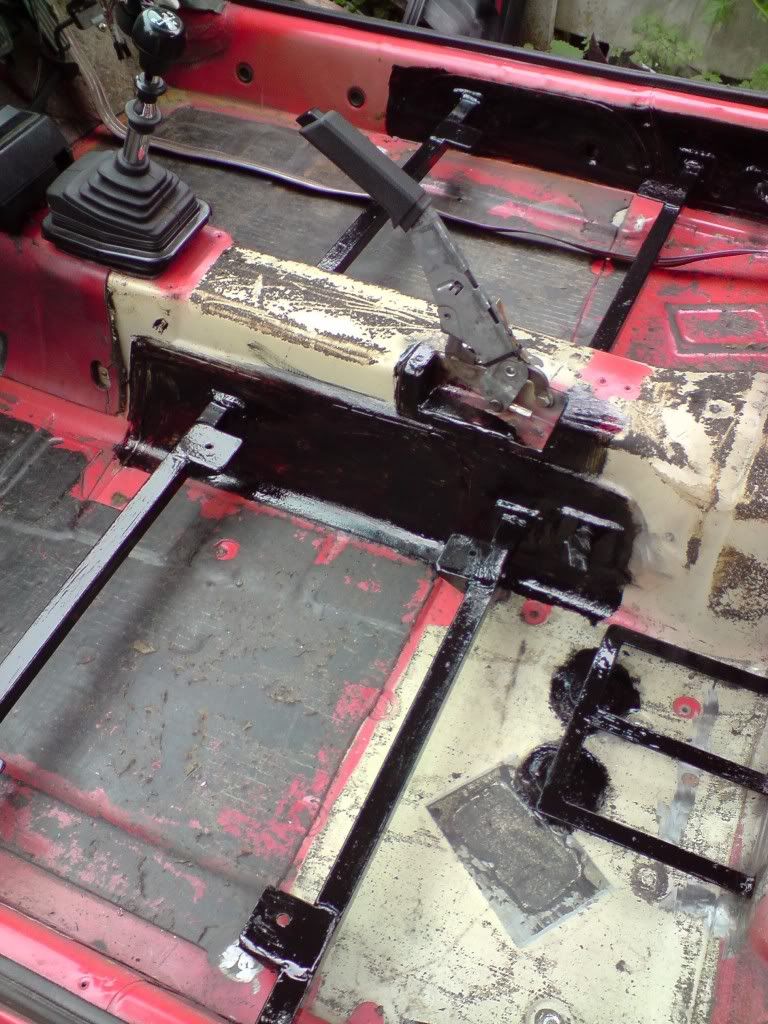
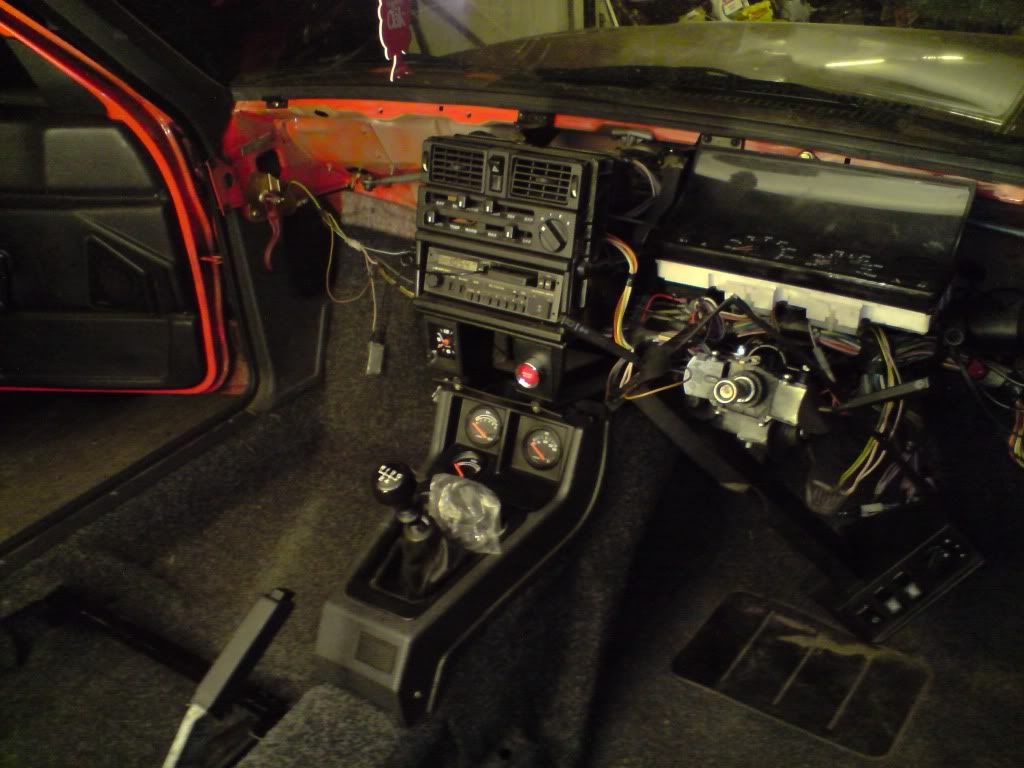
Oh, heres the position of the steering wheel in relation to the seat now i've lowered it
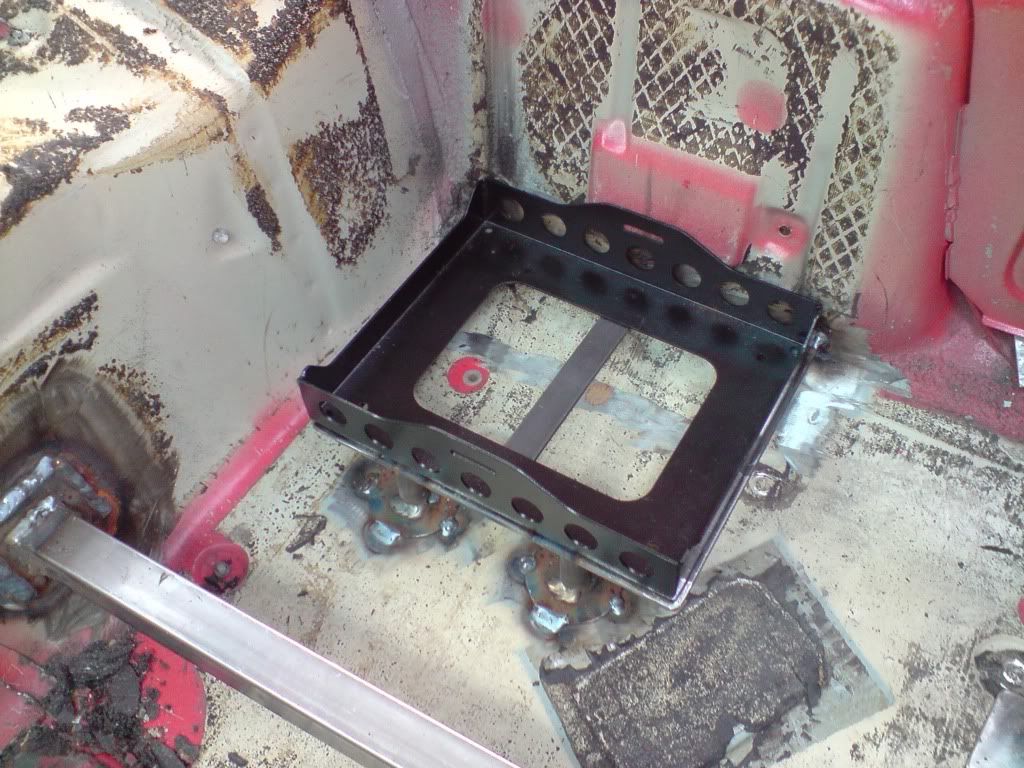
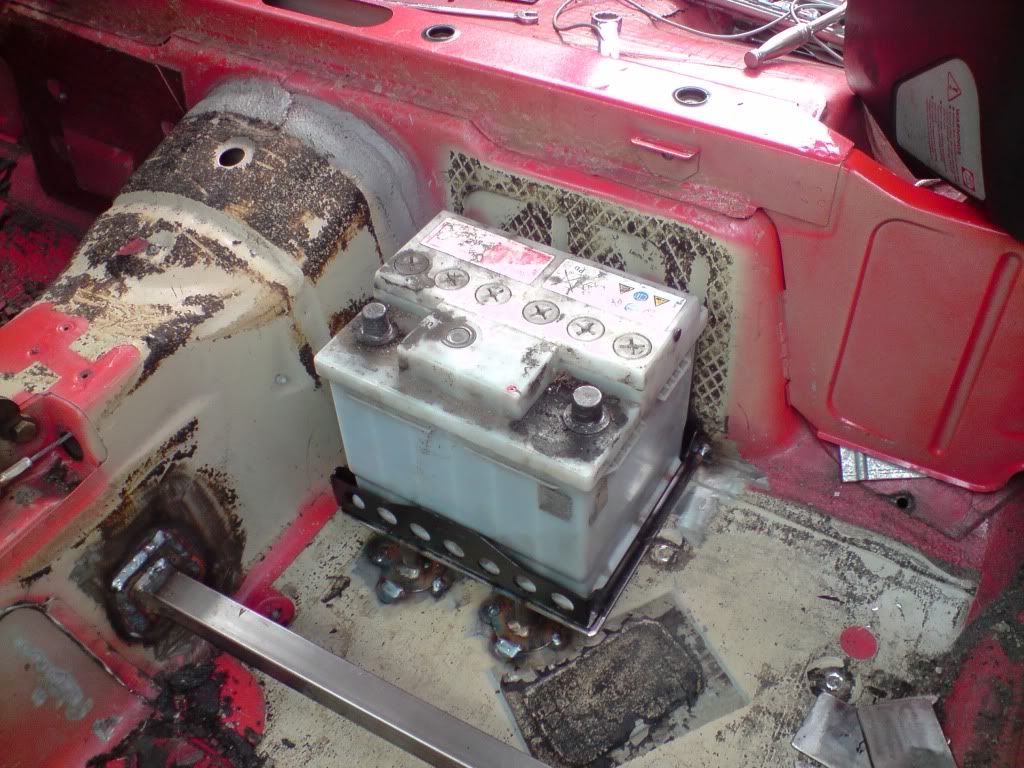
Battery tray and cradle in
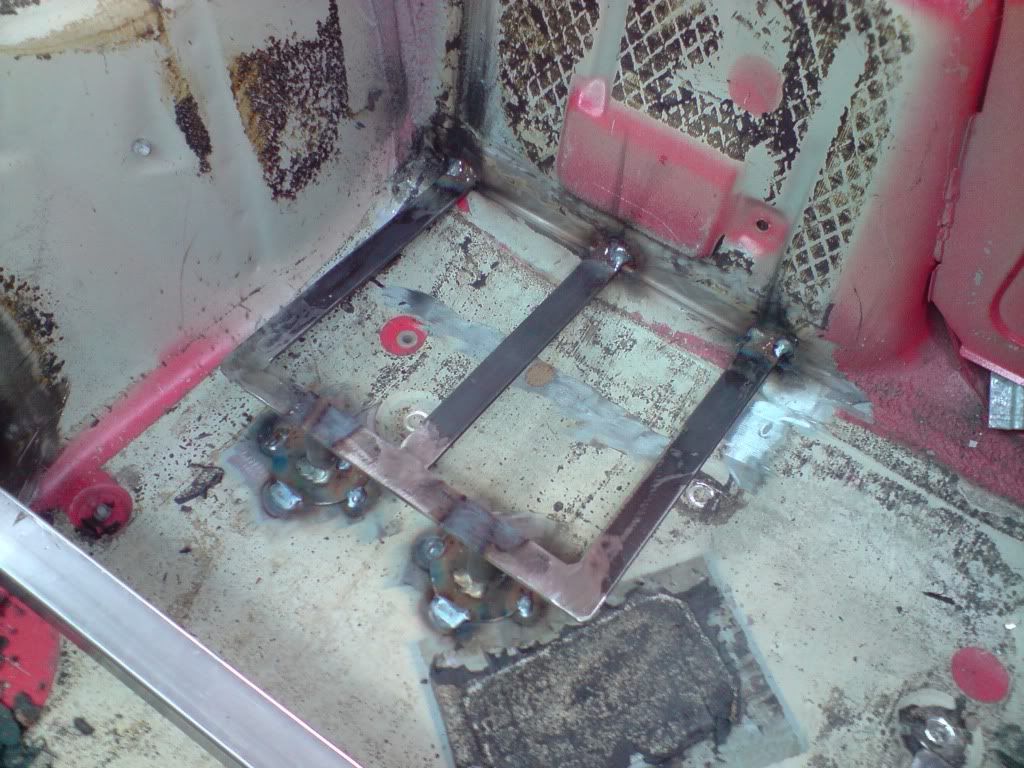
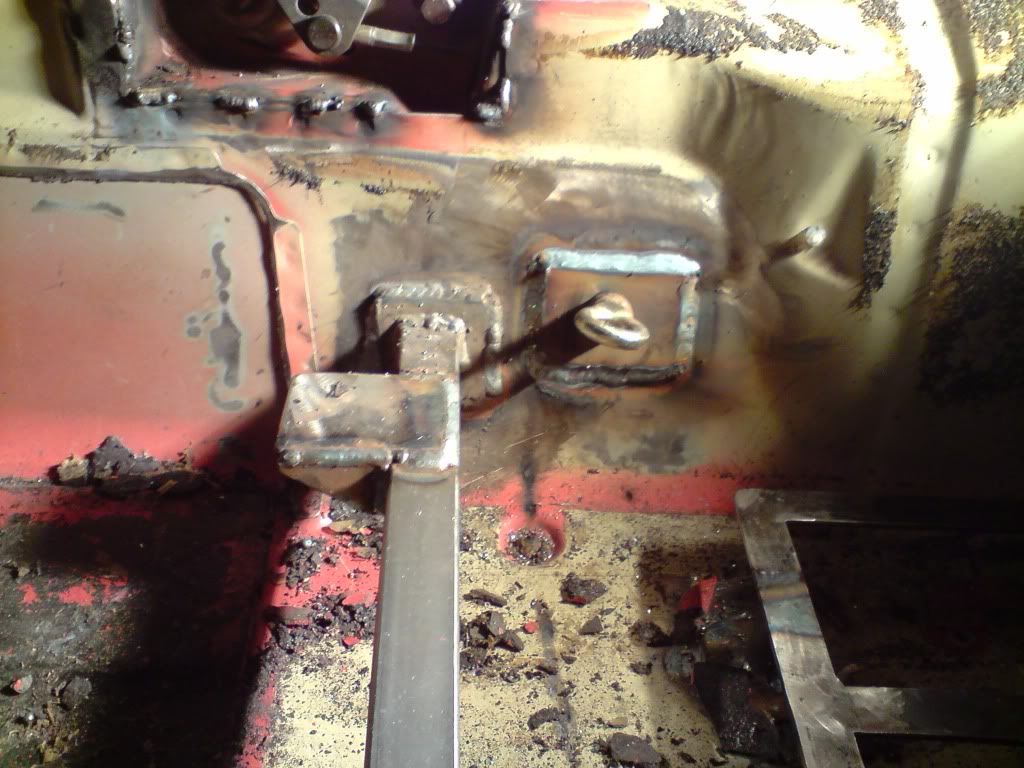
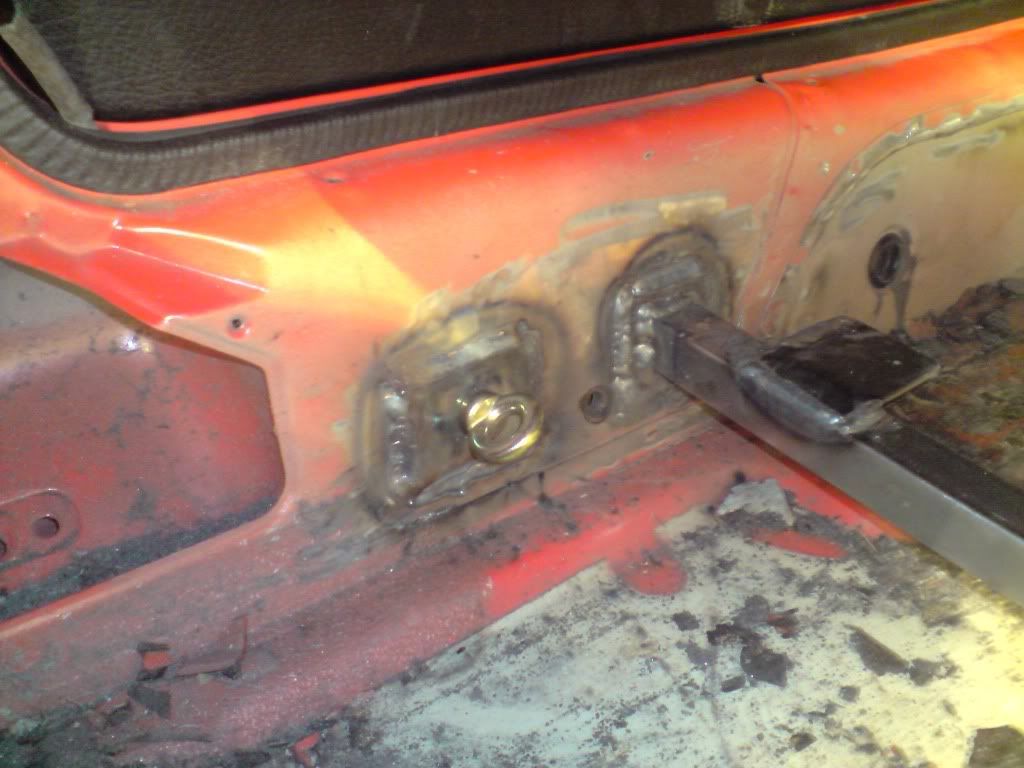
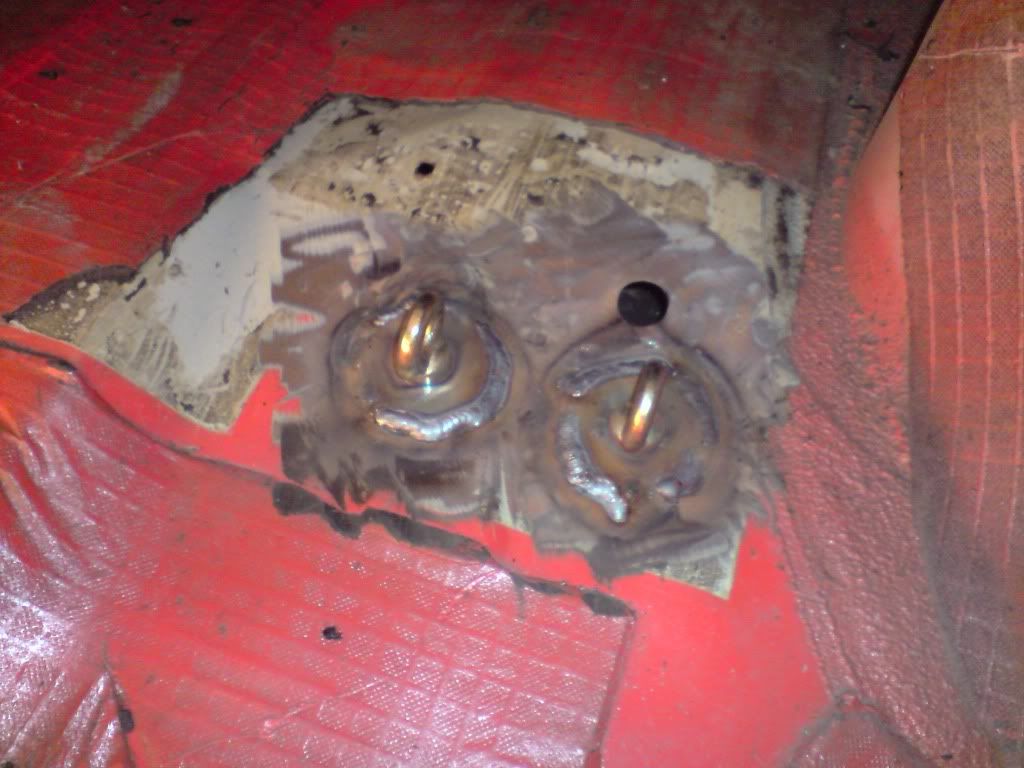
Harness eye plates ready to go
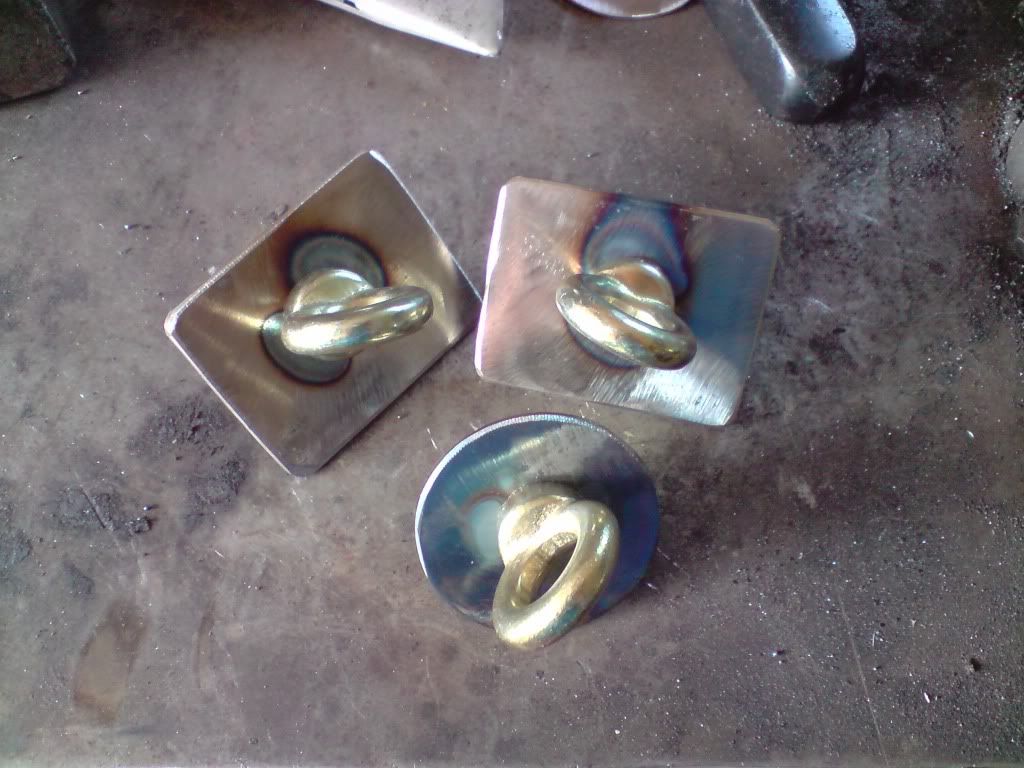
All welded in
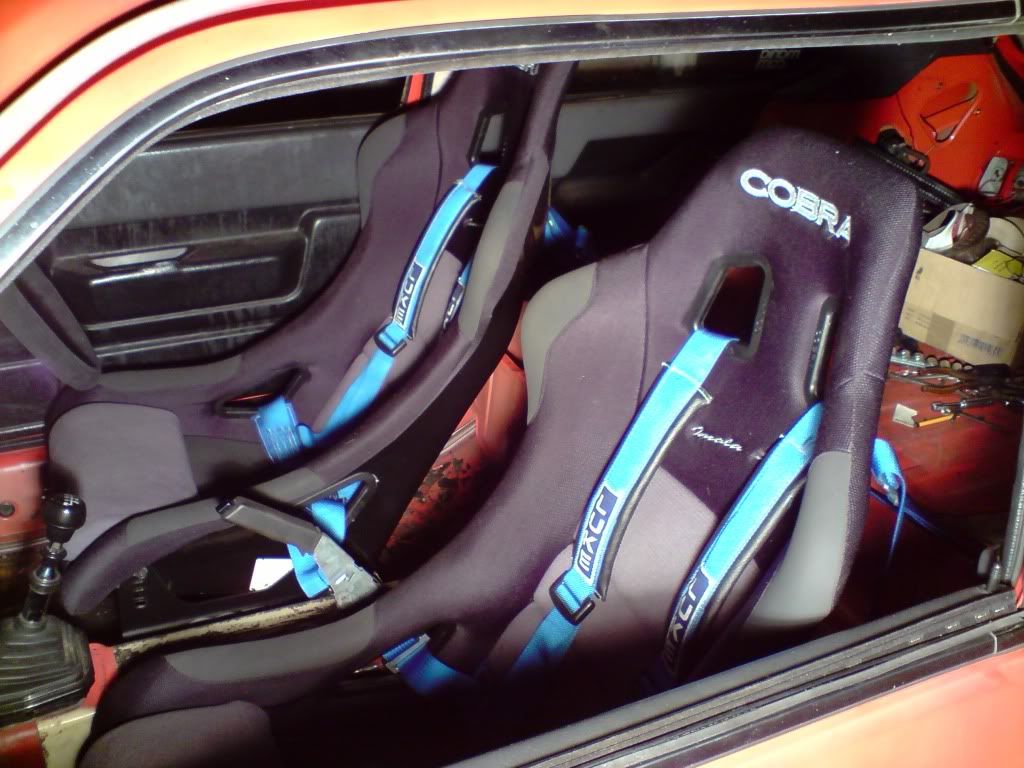
The floor layout, nice and simple
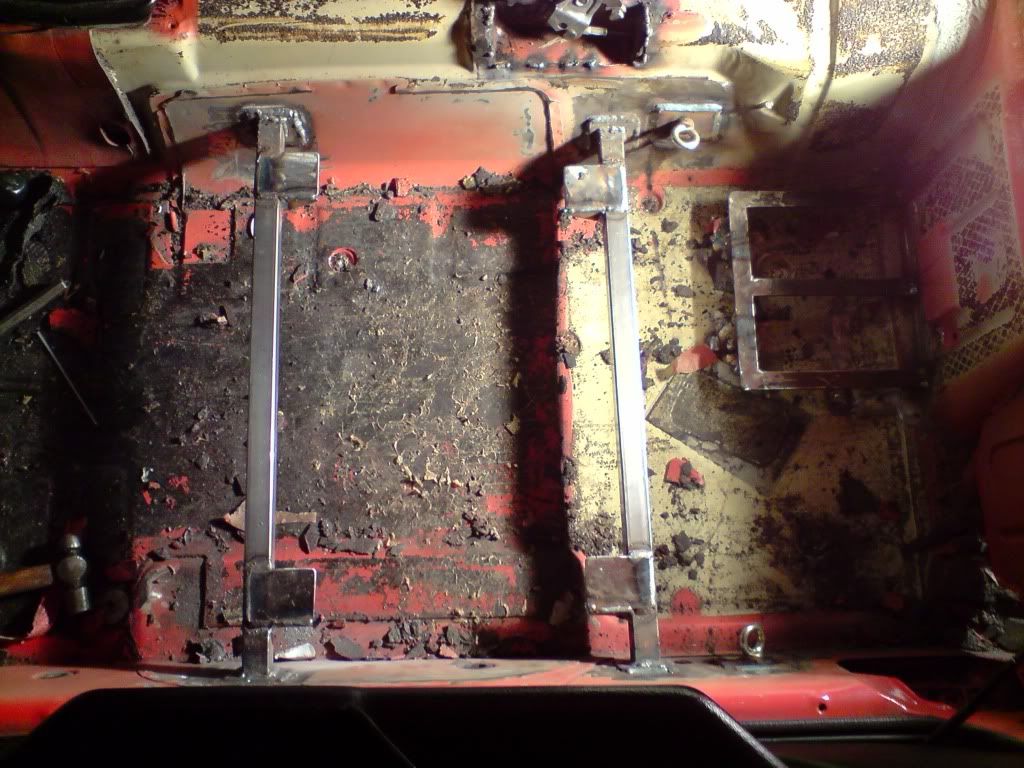
And then the passenger seat bucket mounted
Thats all for tonight
Hope you all like
-
Attack2001
- Posts: 1015
- Joined: 05 Jun 2011 03:45 pm
- Location: Rochester, Kent
- Contact:
Re: Portly - B43 GHH (Picture Heavy)
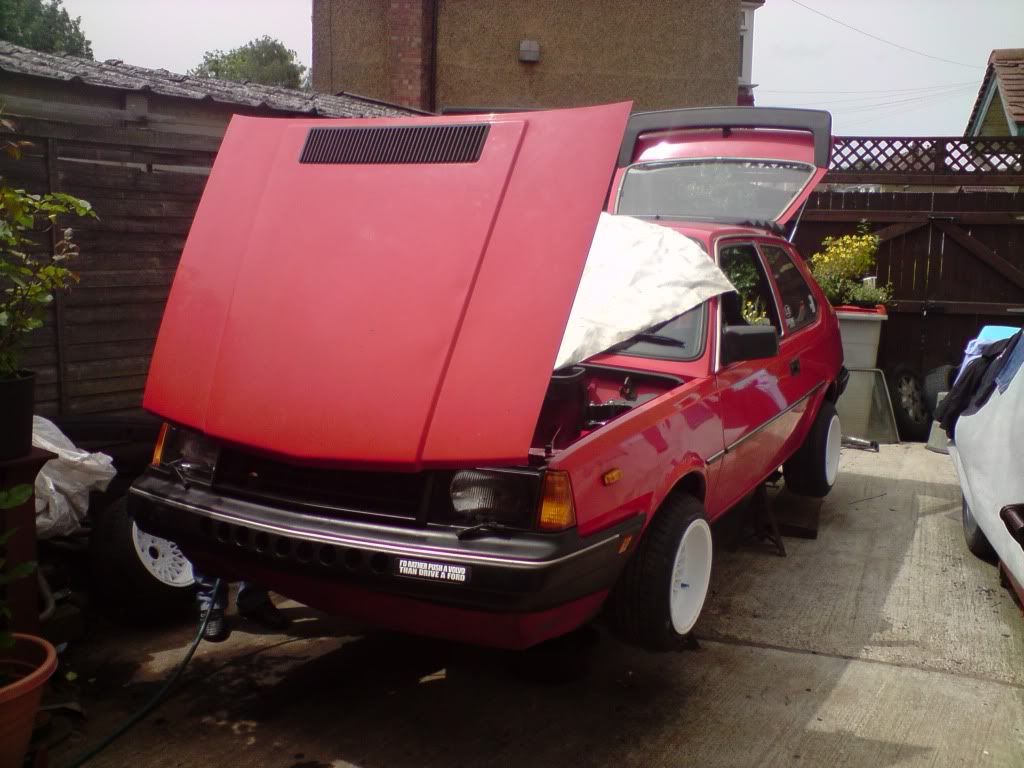
Got a bit more done today  Exhaust is nearly on. Needed work as its off a 1700 so we've modified it to fit the 1400 downpipe, and it works perfectly Just need to buy some slip joint clamps and jobs a good'n Not forgetting the gangsta tip on end
  Fixed some rust on the inner arch, got the radiator back flushed, fitted the header tank, got all the suspension on, tightened up although just waiting for my poly ARB drop links to arrive Painted the new bucket mounts and harness eyes etc. Got the carpet half in, needs finishing off tomorrow, finished off the earths on the rear lights and now they all work perfectly!
  Sorted out the steering column bolts, one was a little too short and it was bugging me so changed that too Oh and while we were at it, almost welded the throttle cable to outer cable when tacking the exhaust
  got it all sorted though Got a few pics
Once the carpets fully in, i can wire in the killswitch, then the dash can all back in, seats in, interior trim etc. Some more wiring - starter button, number plate lights, extra gauges, And then its pretty much done
Thomas........................
Once the carpets fully in, i can wire in the killswitch, then the dash can all back in, seats in, interior trim etc. Some more wiring - starter button, number plate lights, extra gauges, And then its pretty much done
Thomas........................
Re: Portly - B43 GHH (Picture Heavy)
Epic thread! Nice of you to share, that's some awesome work. Any more room at Nevs for another apprentIce? 
Look forward to more from this, especially what you do about the wishbones. Mine are at a stupid angle too which makes bump steer a constant surprise
Look forward to more from this, especially what you do about the wishbones. Mine are at a stupid angle too which makes bump steer a constant surprise


-
Attack2001
- Posts: 1015
- Joined: 05 Jun 2011 03:45 pm
- Location: Rochester, Kent
- Contact:
Re: Portly - B43 GHH (Picture Heavy)
Cheersvalman wrote:Epic thread! Nice of you to share, that's some awesome work. Any more room at Nevs for another apprentIce?
Look forward to more from this, especially what you do about the wishbones. Mine are at a stupid angle too which makes bump steer a constant surprise
Yeah the bump and roll steer needs to be sorted asap. Its pretty simple from what i can see, just need the money
Thomas..................

Re: Portly - B43 GHH (Picture Heavy)
Good work dude, thats coming along really well!!! 
Ben....
Ben....
-
Attack2001
- Posts: 1015
- Joined: 05 Jun 2011 03:45 pm
- Location: Rochester, Kent
- Contact:
Re: Portly - B43 GHH (Picture Heavy)
CheersBenfraser wrote:Good work dude, thats coming along really well!!!
Ben....
Right, got a little bit more done tonight!

Also some more goodies arrived
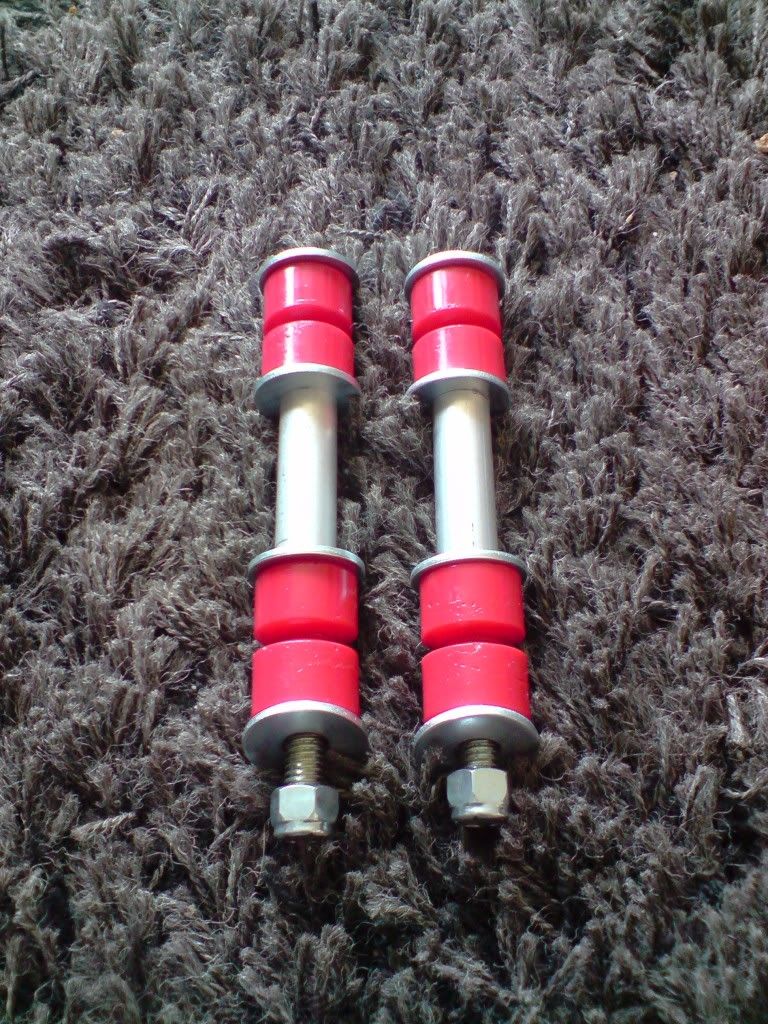
I had 30mins before i started work, 10mins to get there, left me with 20mins to fit them, job done
The front can go back together finally now, apart from getting the tracking done. Its so close to finishing, i can almost smell it
Thomas........................
Re: Portly - B43 GHH (Picture Heavy)
You think of doing a short shift on this to? Its quite easy to make, instead of buying
War isnt about who is right, but who is left