A Redline resurfaces. F882 gets fettled.
Posted: 09 Jan 2013 03:45 pm
OK chaps/chapesses I'll start this thread here as primarily it will start about carbs.
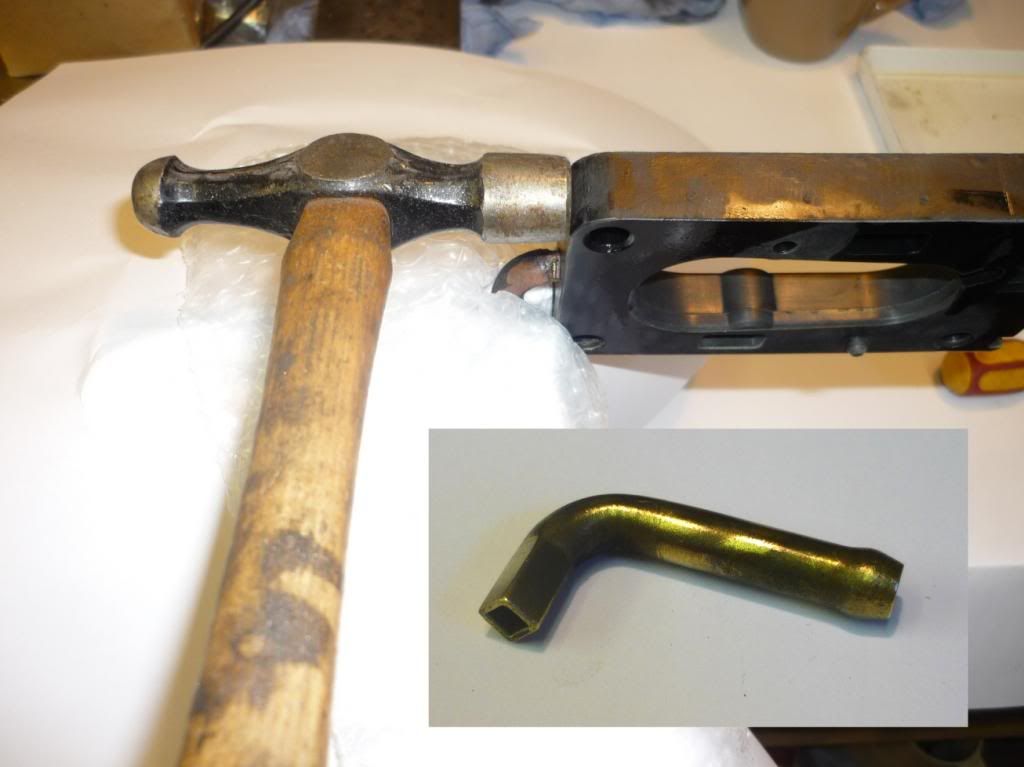
Those of you having read my "bendy carbs" post will know I have aquired a couple of "anti warp" kits for the Solex Z10,and having also aquired a 1.7 it seemed a good idea to
combine the recommissioning of the Redline with a rebuild of it's carb and the fitting of said kit.
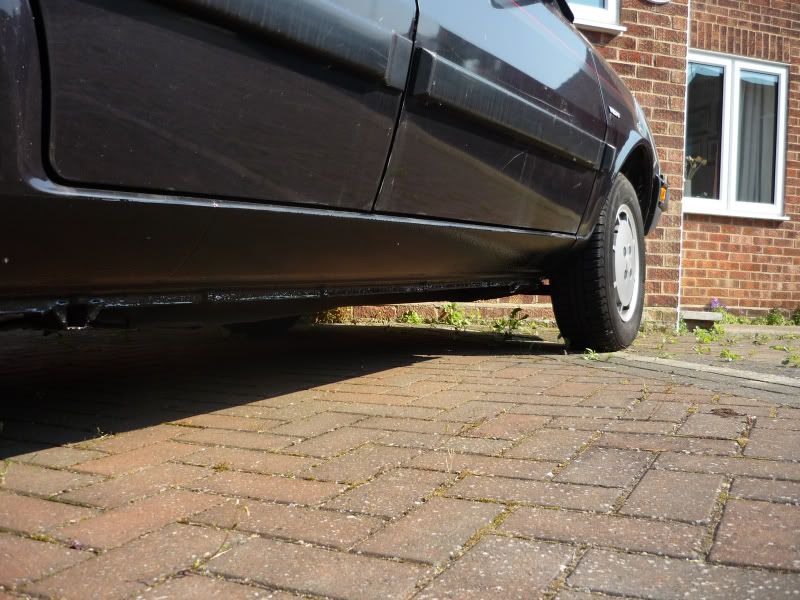
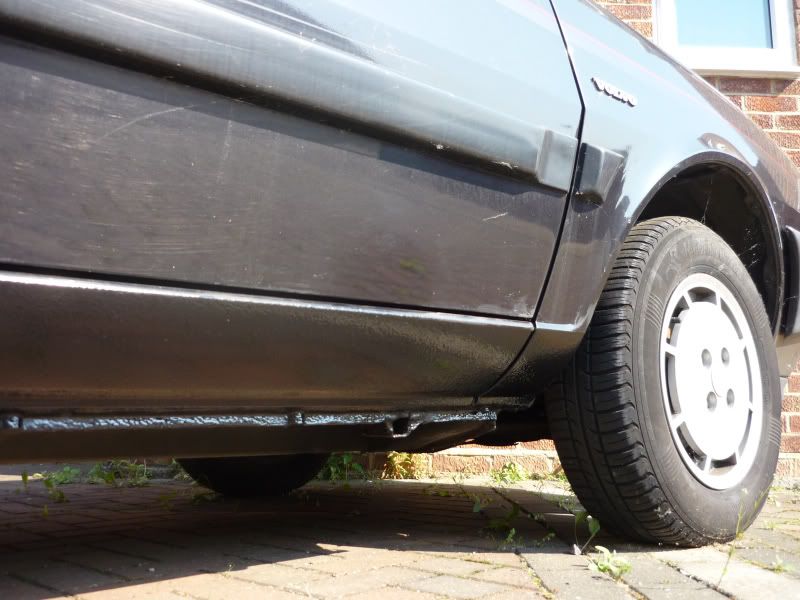
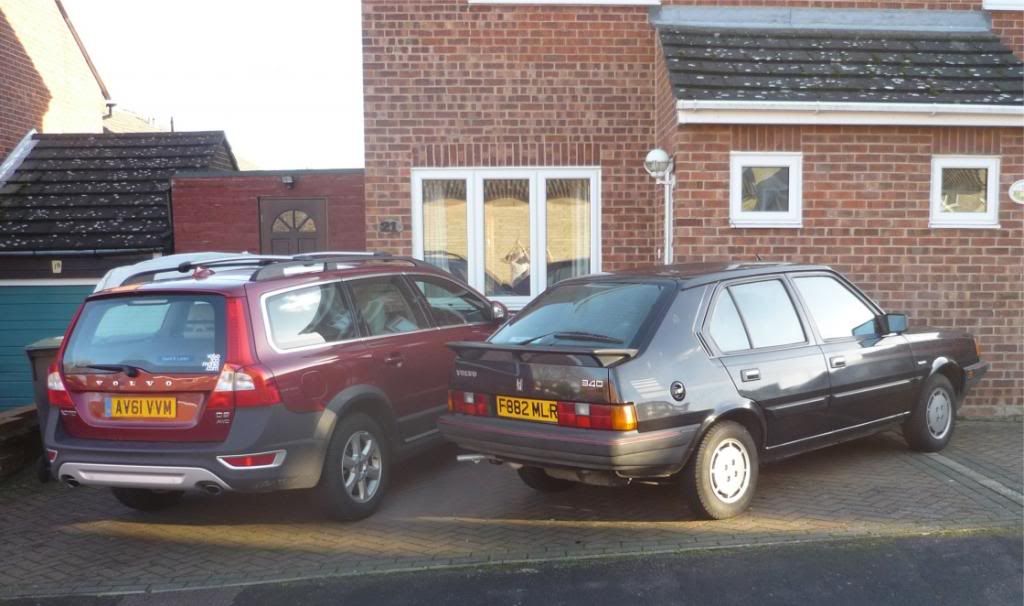
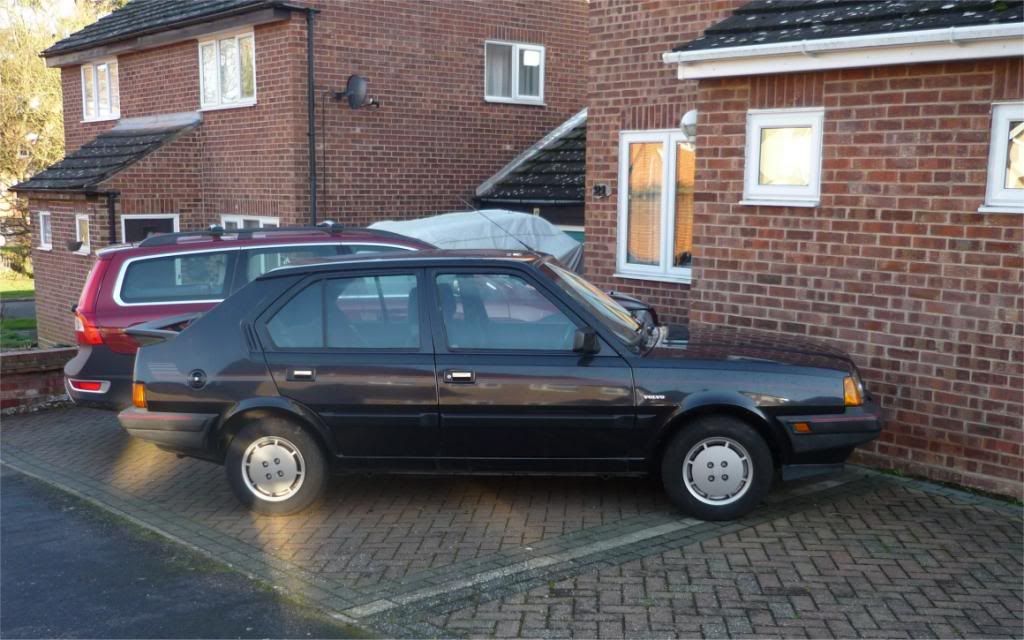
The car - no movement yet although I do move her about the drive to let her know I care.
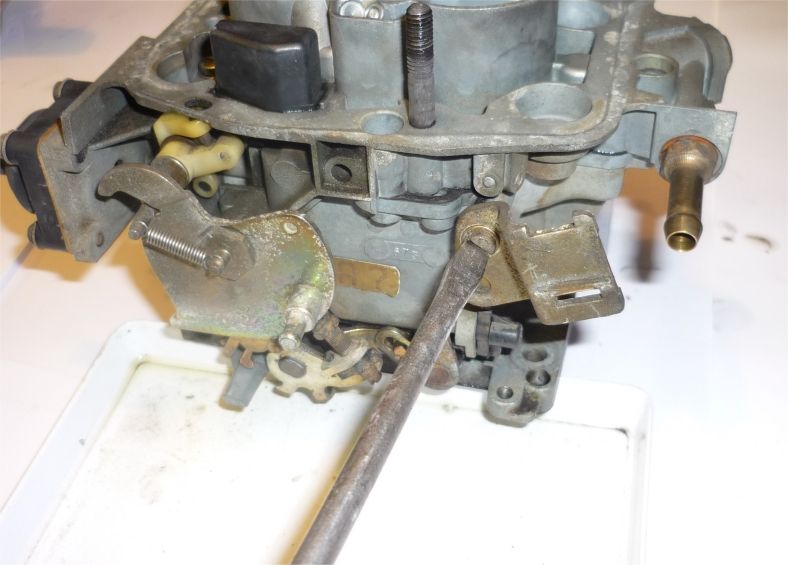
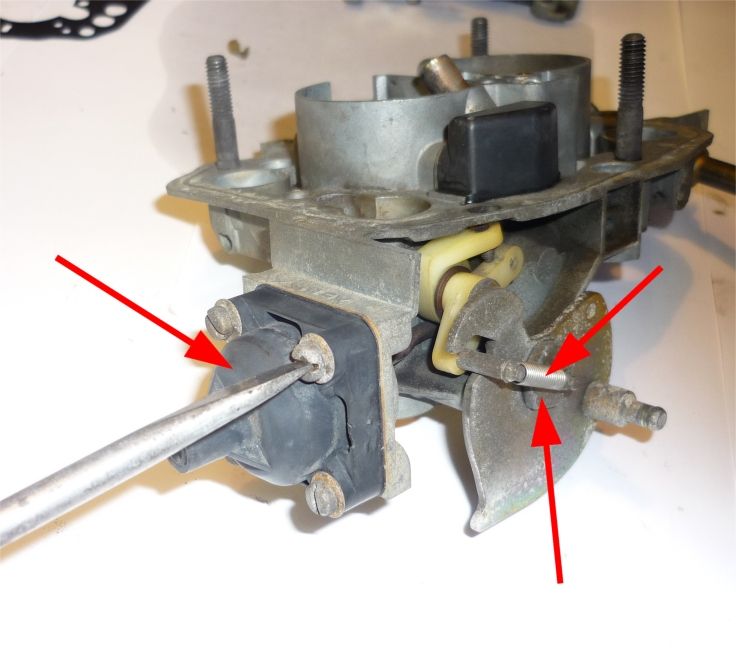
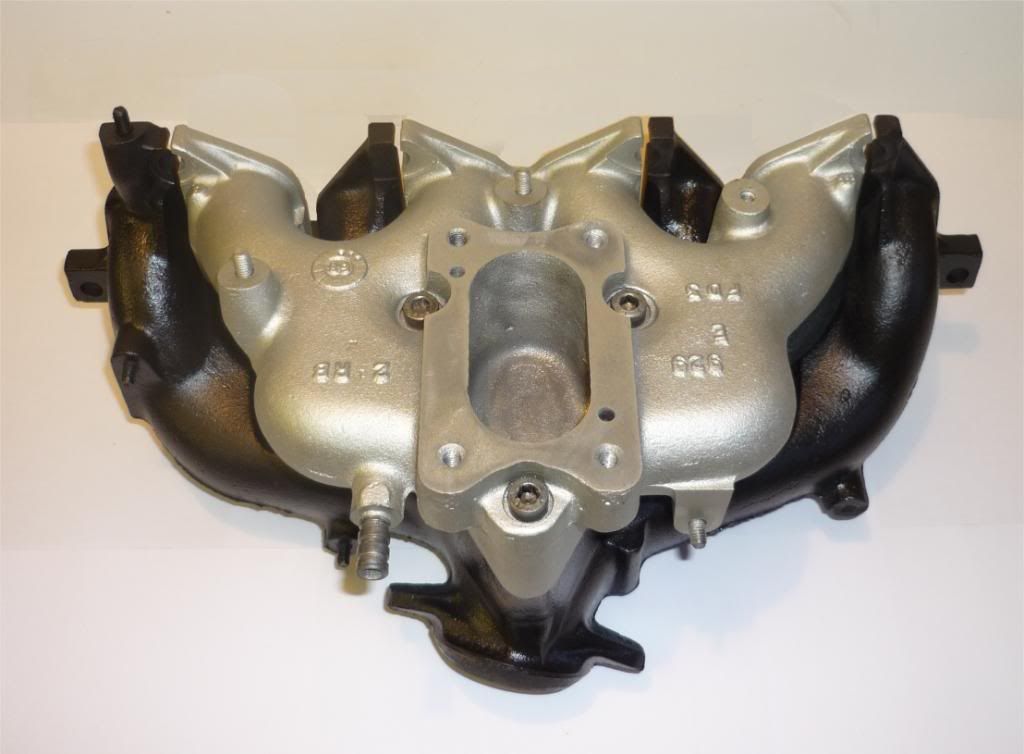
To make it easier to follow the work I have removed the inlet/exhaust manifold and will "bench" fit the kit for photo purposes.
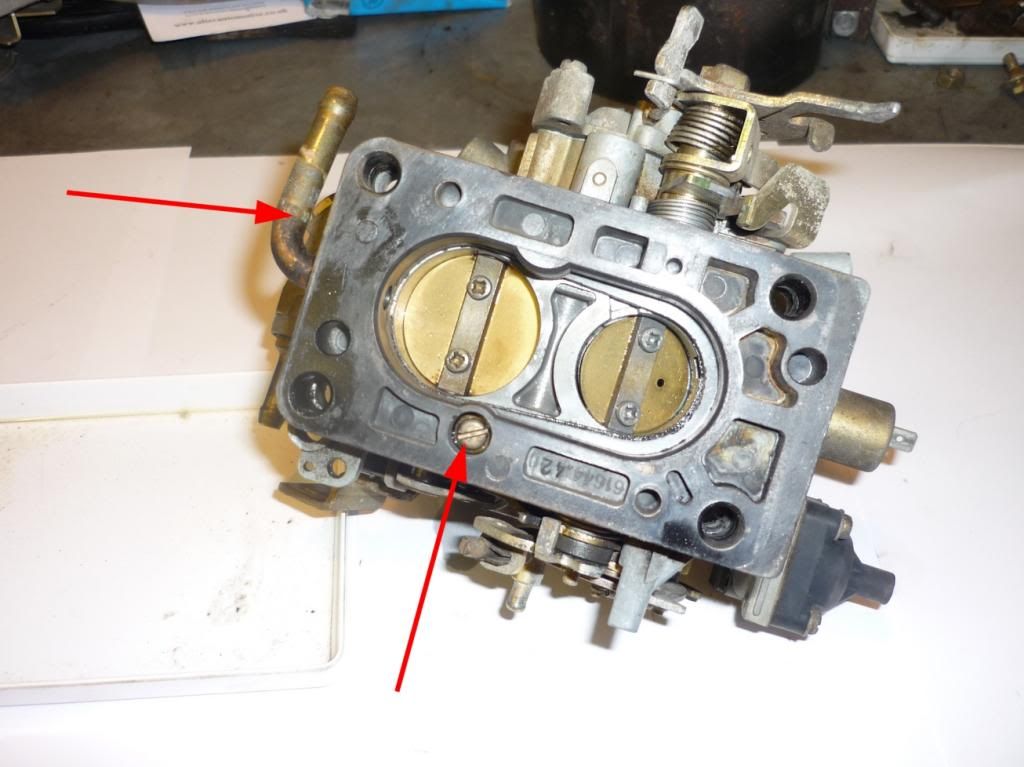
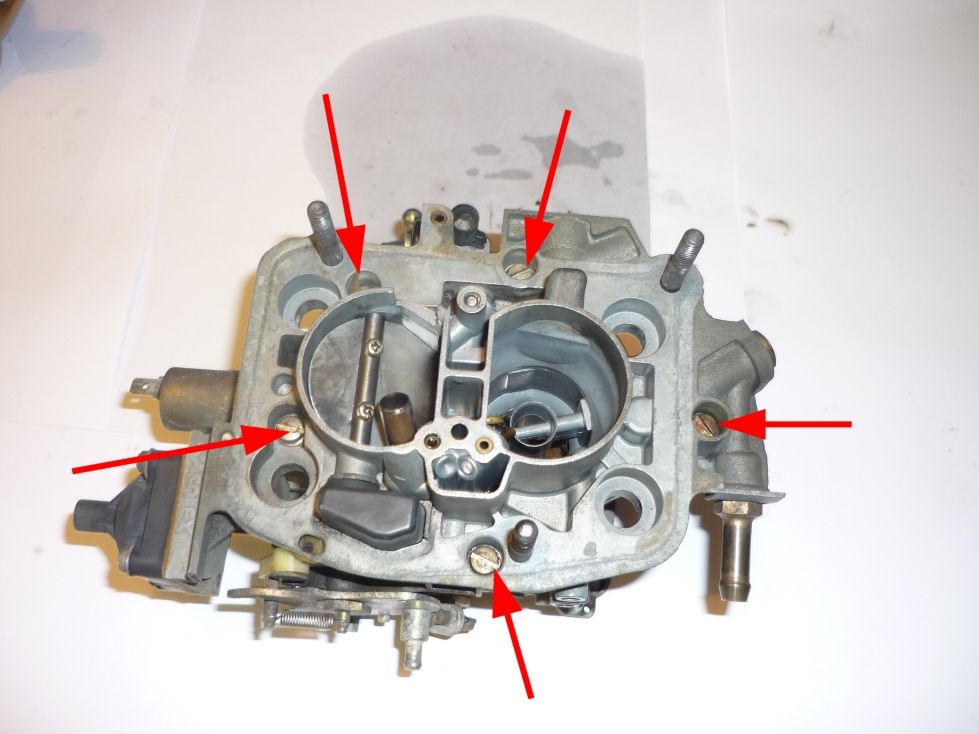
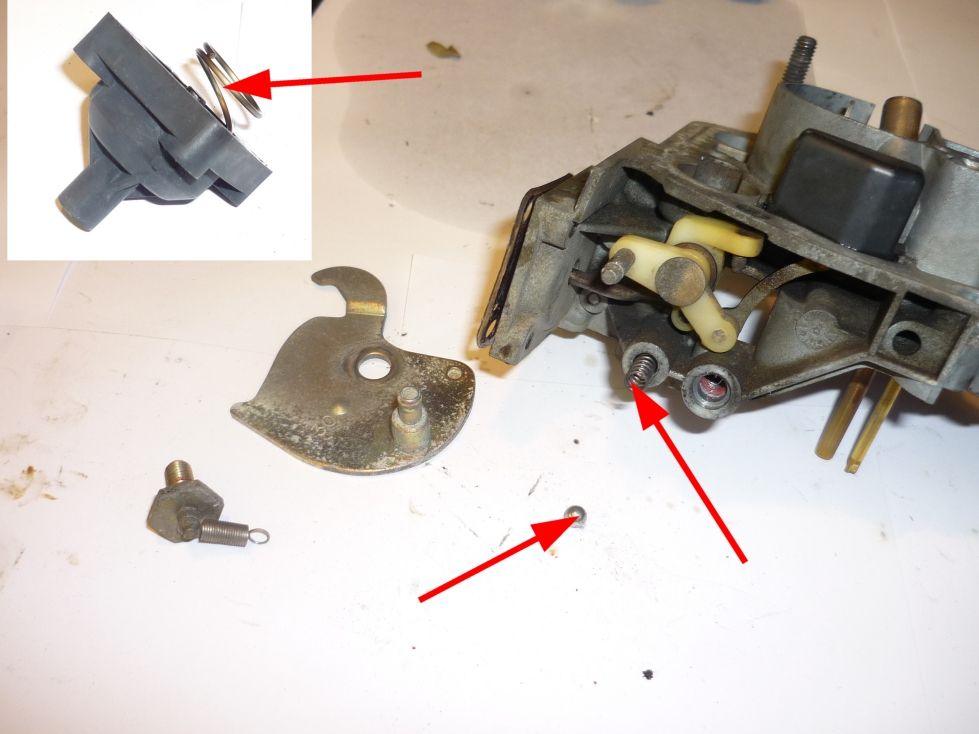
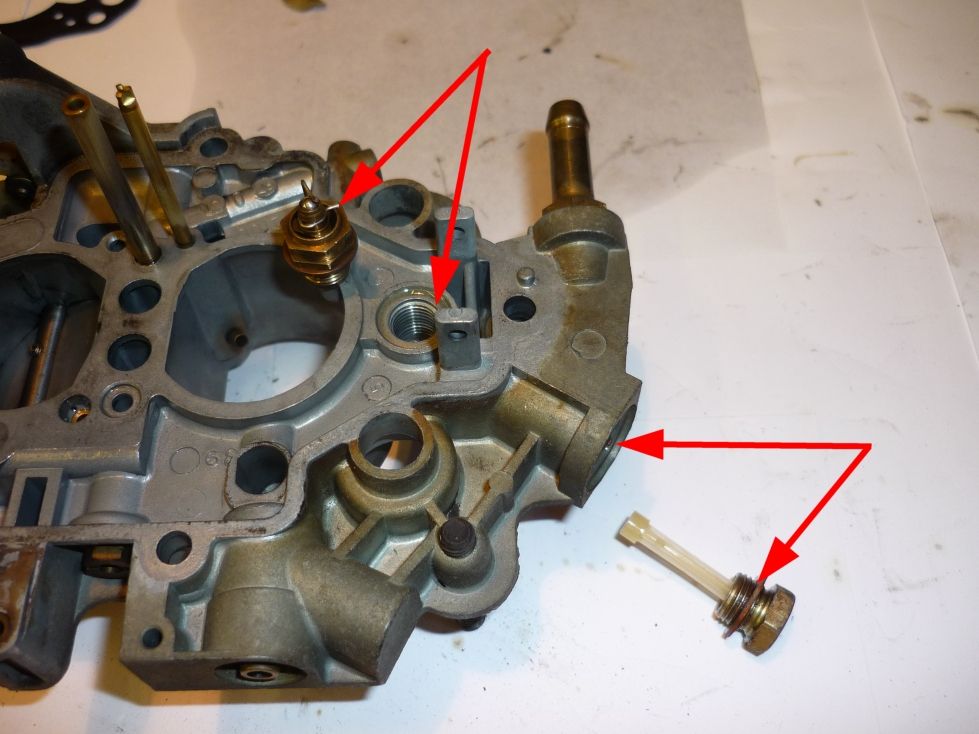
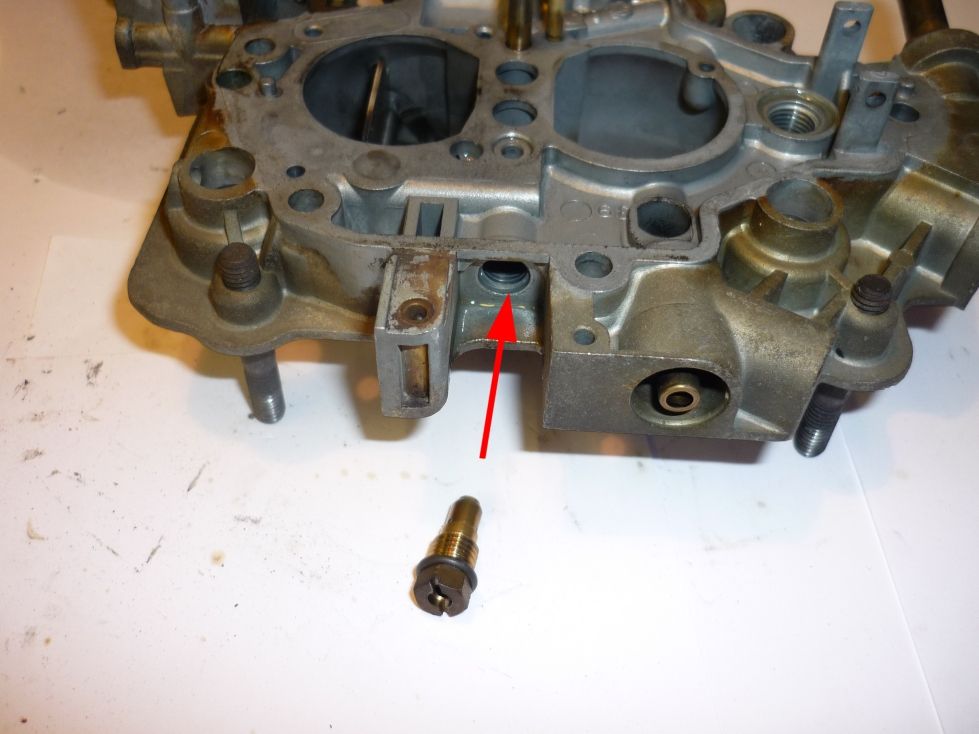
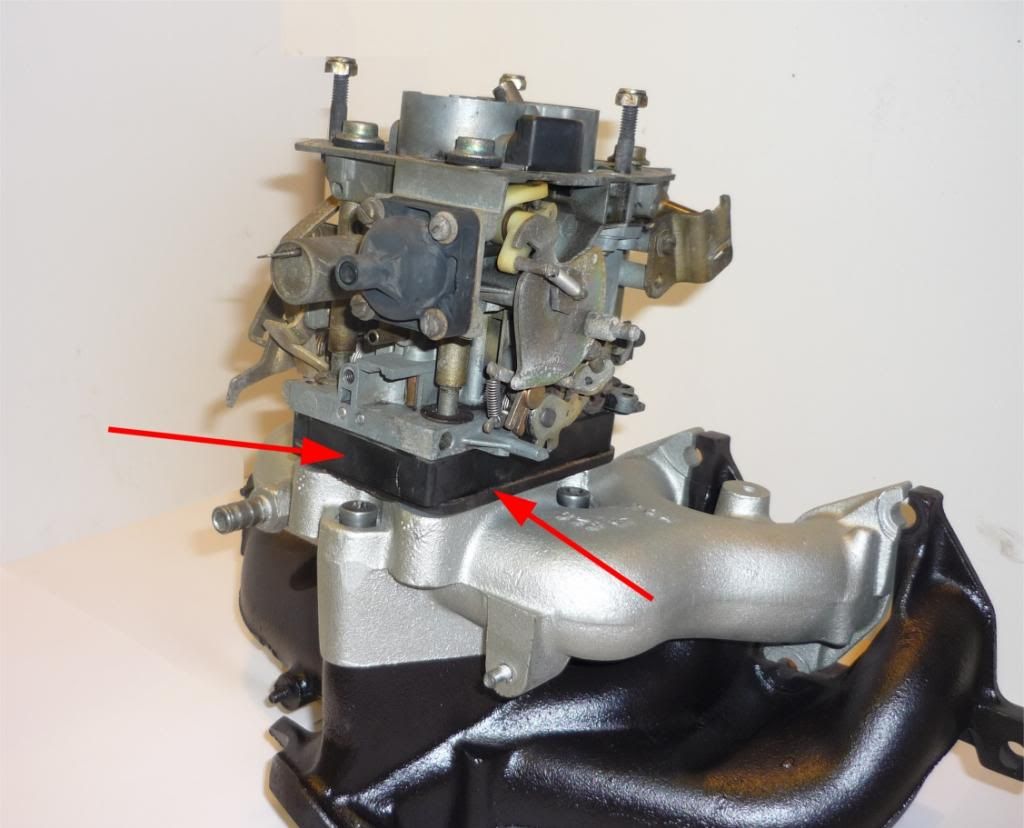
the carb is notorious for warping the base, the base insulating block and indeed the inlet manifold carb mounting face.
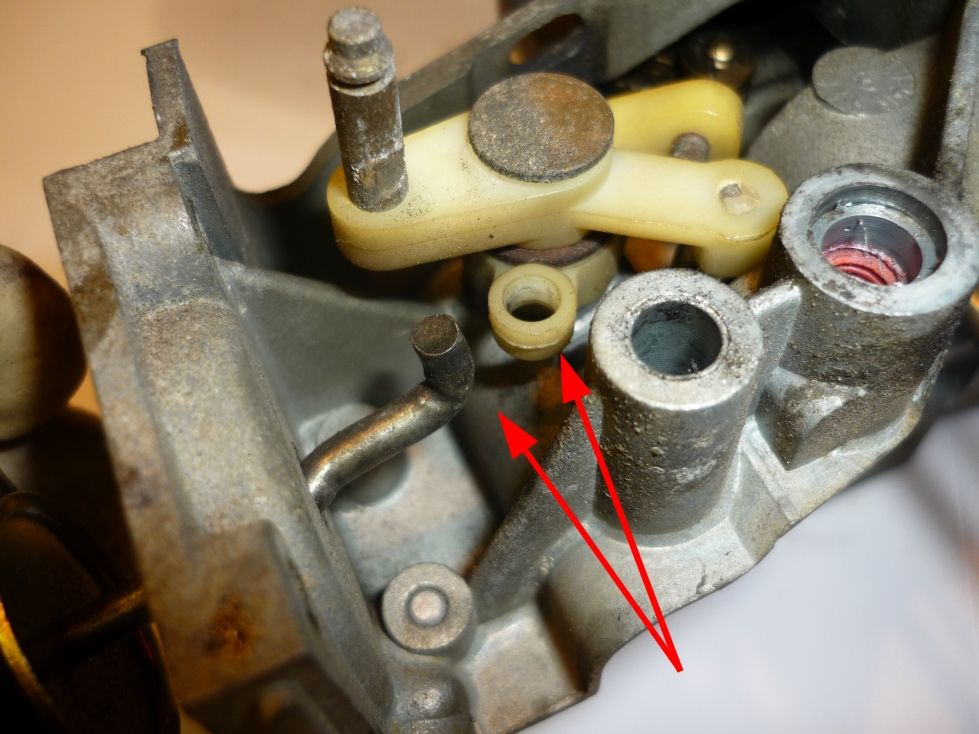
Even on my low mileage Redline both the carb base and block are warped - but fortunately the manifold is perfect.
The manifold on the bench.
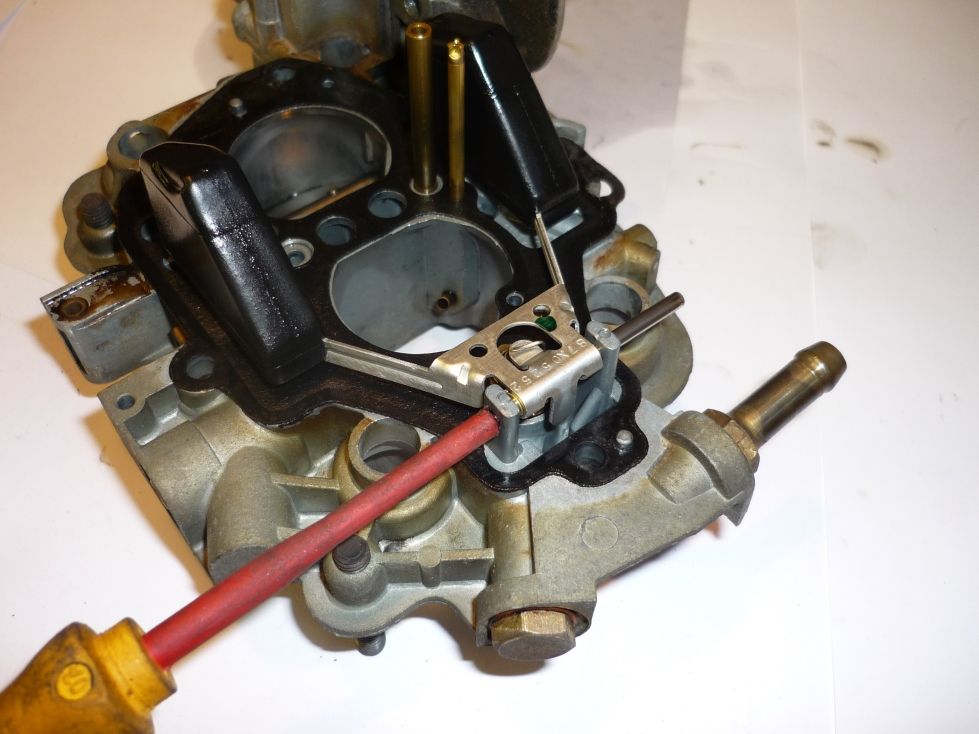
The carb on the manifold showing the standard, black, insulating block together with the std. thin insulator/gasket combination.
Mac TBC.
Those of you having read my "bendy carbs" post will know I have aquired a couple of "anti warp" kits for the Solex Z10,and having also aquired a 1.7 it seemed a good idea to
combine the recommissioning of the Redline with a rebuild of it's carb and the fitting of said kit.
The car - no movement yet although I do move her about the drive to let her know I care.
To make it easier to follow the work I have removed the inlet/exhaust manifold and will "bench" fit the kit for photo purposes.
the carb is notorious for warping the base, the base insulating block and indeed the inlet manifold carb mounting face.
Even on my low mileage Redline both the carb base and block are warped - but fortunately the manifold is perfect.
The manifold on the bench.
The carb on the manifold showing the standard, black, insulating block together with the std. thin insulator/gasket combination.
Mac TBC.