
Another is the bottom corners of the A pillar next to the bottom corner of the windscreen. The rust here festers from the inside, and by the time it's apparent on the outside, it's too late, it's gonna be a nasty and expensive job to repair. The winsdcreen rubber doesn't help, as it can trap moisture, which is then able to creep between the layers of metal where they all meet to form the windscreen frame.
On the most recent 360 I've had to break up, there was only one small bubble apparent while the screen and rubber were in place. As soon as these were removed, it showed that in the future, it was going to spread from the joins in the layers of metal where it had started.
The following pictures show just how the rust forms, the contruction of the A pillar, how many layers and different structures are within the A pillar and possibly how to prevent, or at least stop the rust taking hold and causing major damage.
BTW, I'm sorry about Dekay Pinkcam mode, STILL need to get my camera fixed!
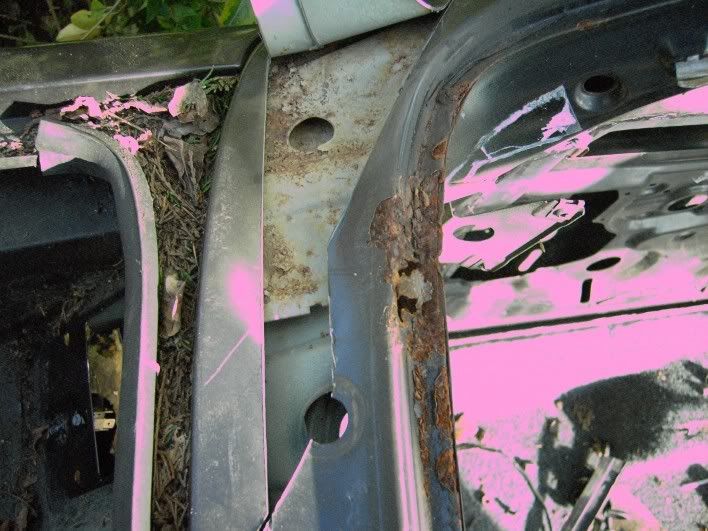
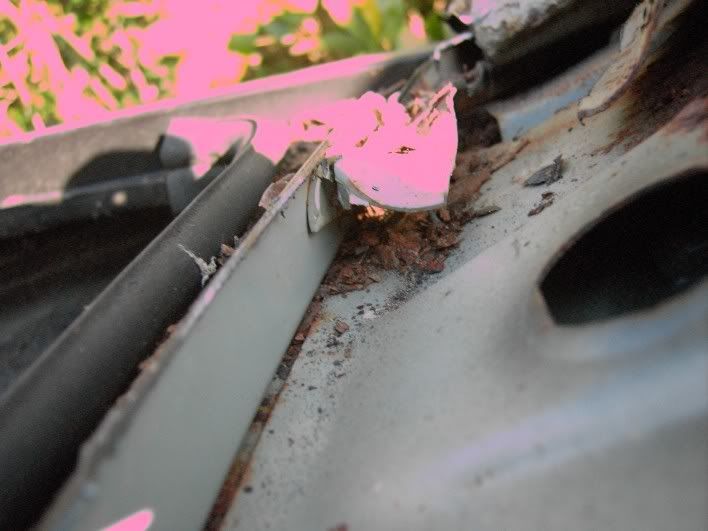
First layer removed, drivers side, next to wiper hole.

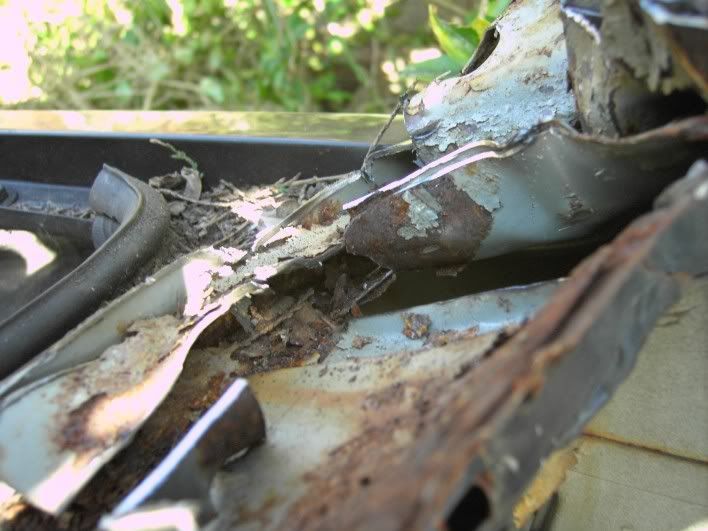
What had been festering under the windscreen rubber, around the frame, nasty.......
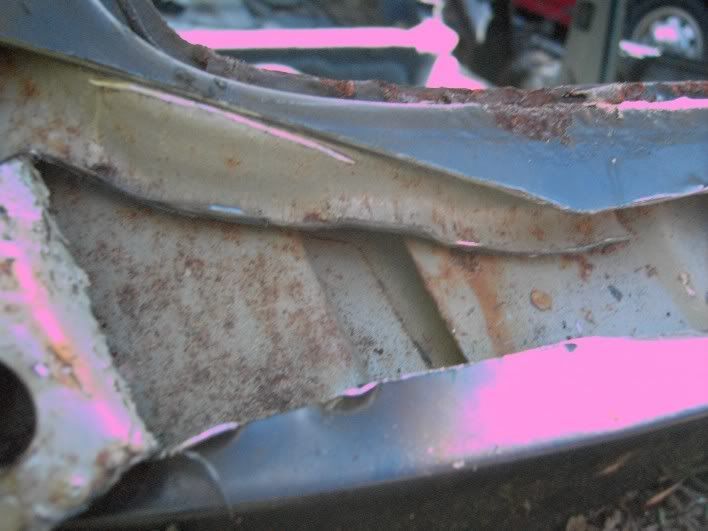
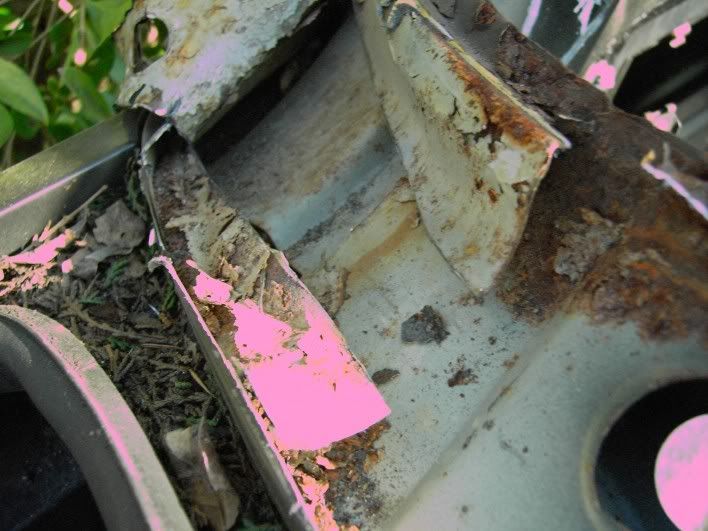
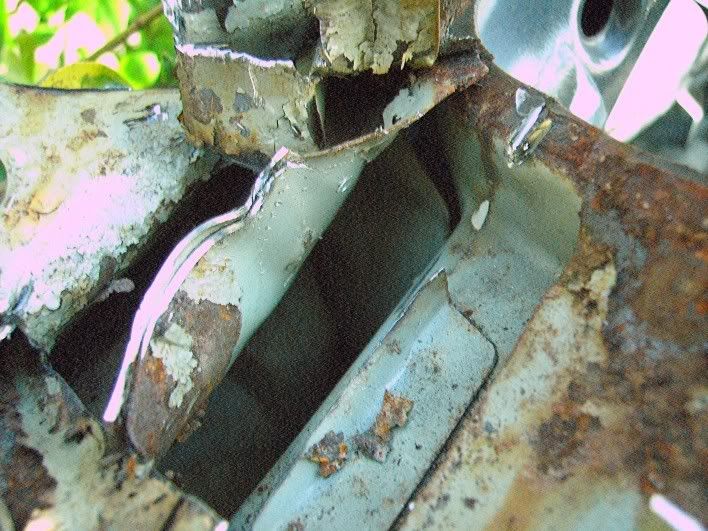
Another layer removed, showing the end of a section to the middle/right of the picture, which I assume blends down into the other metal, possibly forming another water and moisture trap nearer the centre.
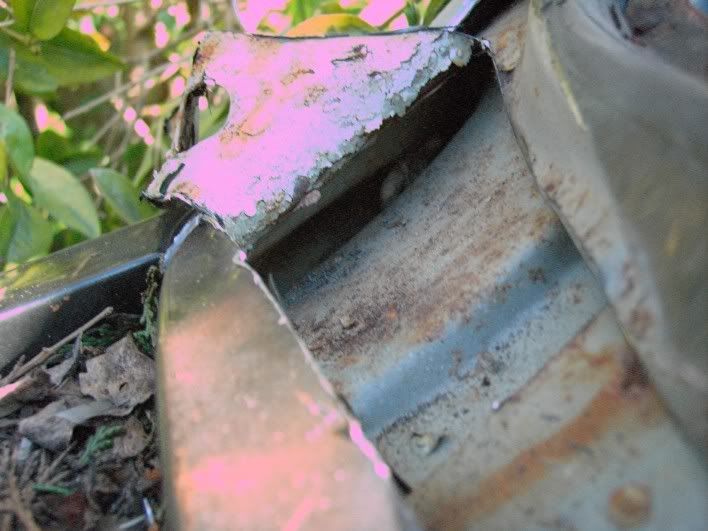
The trap in the bottom and the ridgelike metal in the bottom outside of the A pillar.
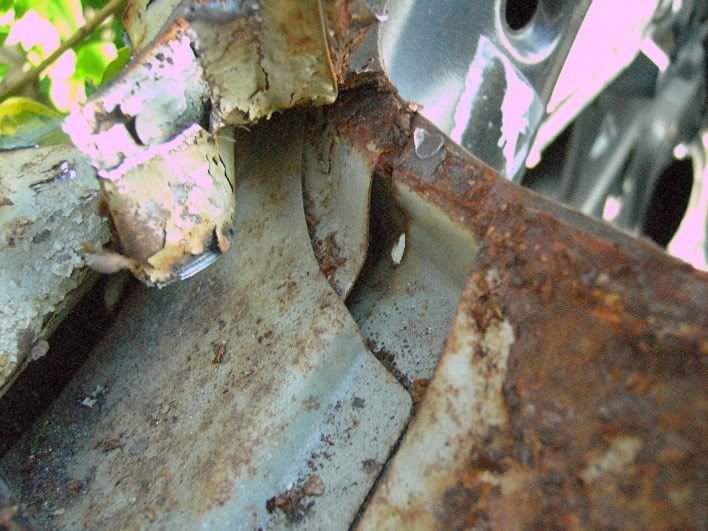
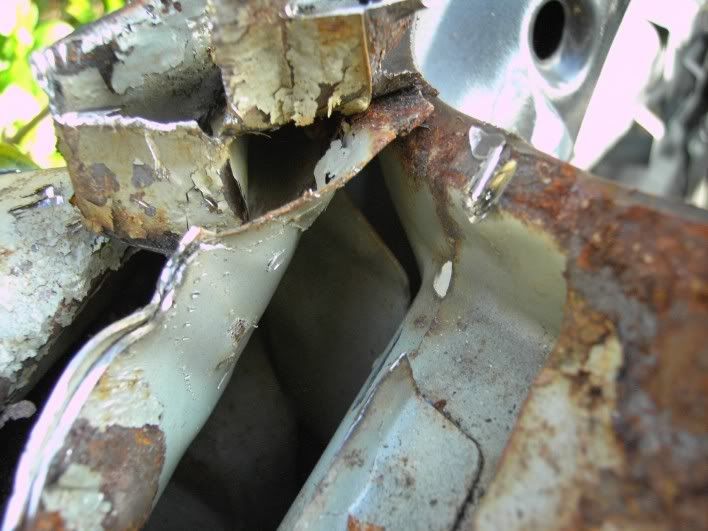
Bottom trap seam, and in the middle of the picture, the join of the other removed layered section.
This shows just how much the rust has spread underneath the seams layers.
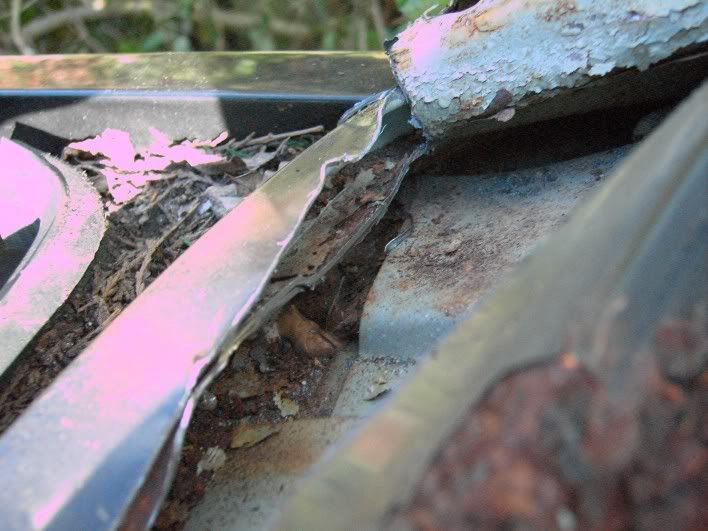
Another layer from the bottom of the frame pulled up. Note the small hole in the corner and the layers overlapping near it.
Another layer around the wiper hole.
More cut back to see a double layer and now down into the door pillar section.
Looking from the centre of the car, out towards the o/s.
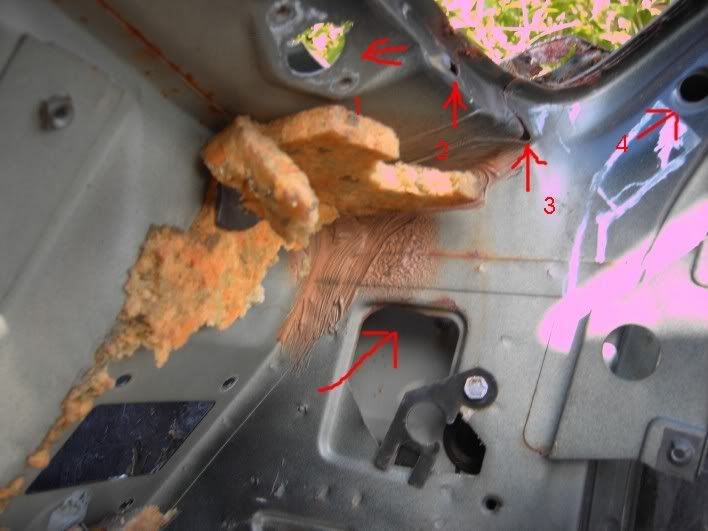
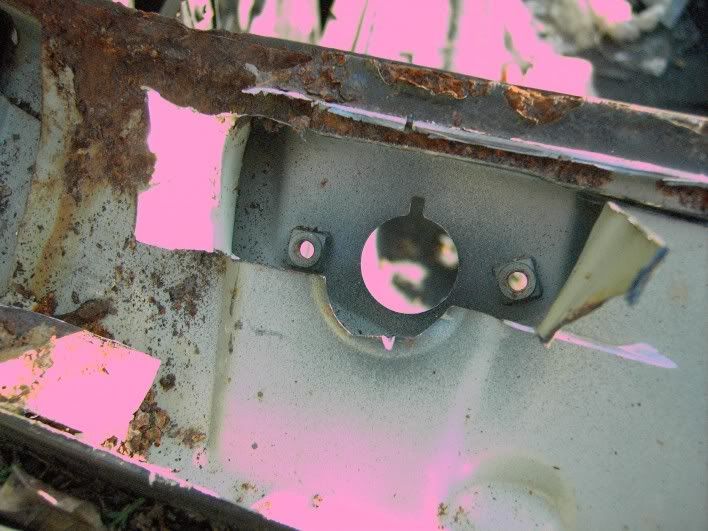
From the inside of the car, with everything removed, the valuable holes to get some Dinitrol rust prevention pentrating oil into. I douibt the top hole, number 2. is accessible while the dashboard is in. The wiper hole, number 1, would be one of the best ways to get between the layers as they are open here, and with a probe you can get the rust prevention to the right places. The best and easiest ways are through 3 and 4, which I hope you can get to 3 with the dash still in, but by removing the trim panel on the A pillar, which is merely held in by clips on the back and two screws at the top on the sunvisor bracket and also the door shut rubber. 5 is another good option, one screw and a plastic push clip hold the plastic kick trim panel in place which has the footwell speaker cutout in it.
Also, on RHD models, the wiper hole for the LHD cars is still there under the dash in all of the layers, other than the outer visible one, making life that side even easier, as there's no arm and linkage to remove to get the rust prevention in!
I hope these pictures will help others stop or prevent rust being the end of their 300's or from costing a lot in repairs! I happened to have an angle grinder to hand while dismantling a scrap car, and wanted to see what the contruction was like and find out why it rusted.
Pete
