
Before I start, this is for noobs. I know most of you are competent and could do this through your own initiative (like me)
Job time: Approx 1.5 hours depending on your skill/lazy level.
Stuff needed: Basic hand tools, pencil, socket set/socket screwdriver (this will make your life easier), drill and bits of various sizes, gaffer tape and paint of choice.
How to do it:
Undo the 4 bolts holding your boot to the spring-arms underneath, doing one at a time going from left to right. The boot should drop a little onto the rubber surrounding of your rear window but be sure that it doesn't hit the glass unless you want some redneck air-conditioning.
I suggest you get some help if you're short like me to get the boot off. It's pretty arkward. Drop it down in your workshop on some old carpet or cloth, anything to stop it being scratched on the floor.
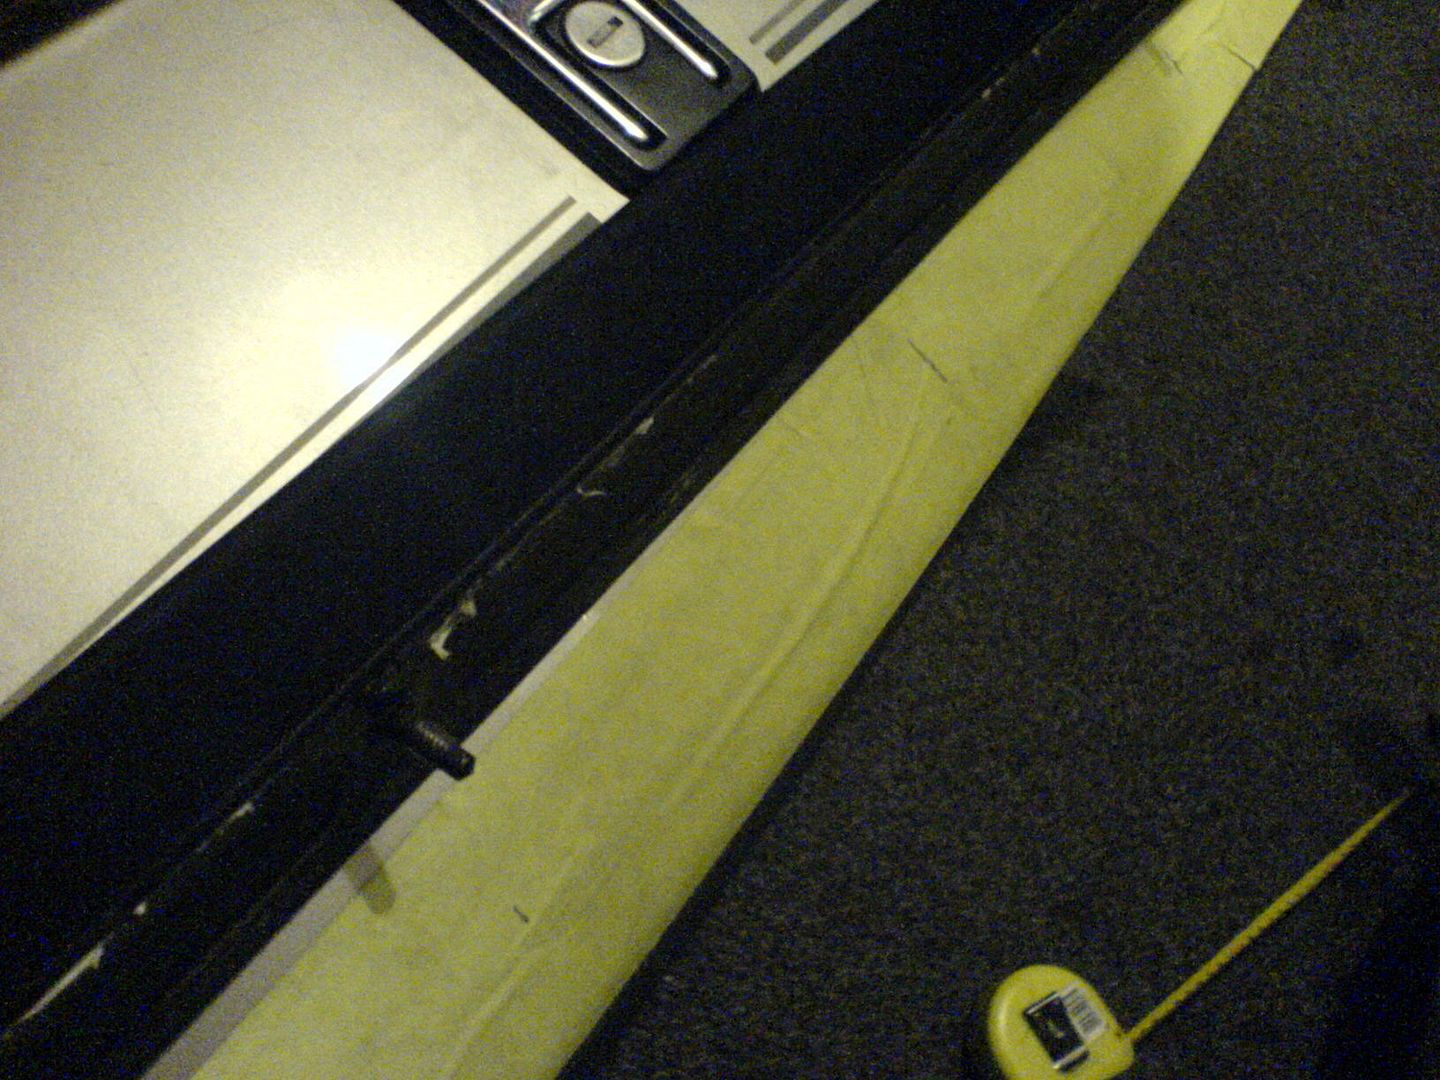
Get some nice thick gaffer tape and stick it along the top edge of the back of the boot, basically where abouts the spoiler should be going eventually. This is to protect your paint as well as make markings. Measure your "half way point" or just guestimate it using the boot lock and a right-angle ruler. Make a mark somewhere around there:

Measure the distance between the 2 middle bolts on your spoiler. IT'S IMPORTANT and must be to the correct mm or your spoiler will be too far right/left at the end. Half this and you've found where the middle is, mark this with pencil too.
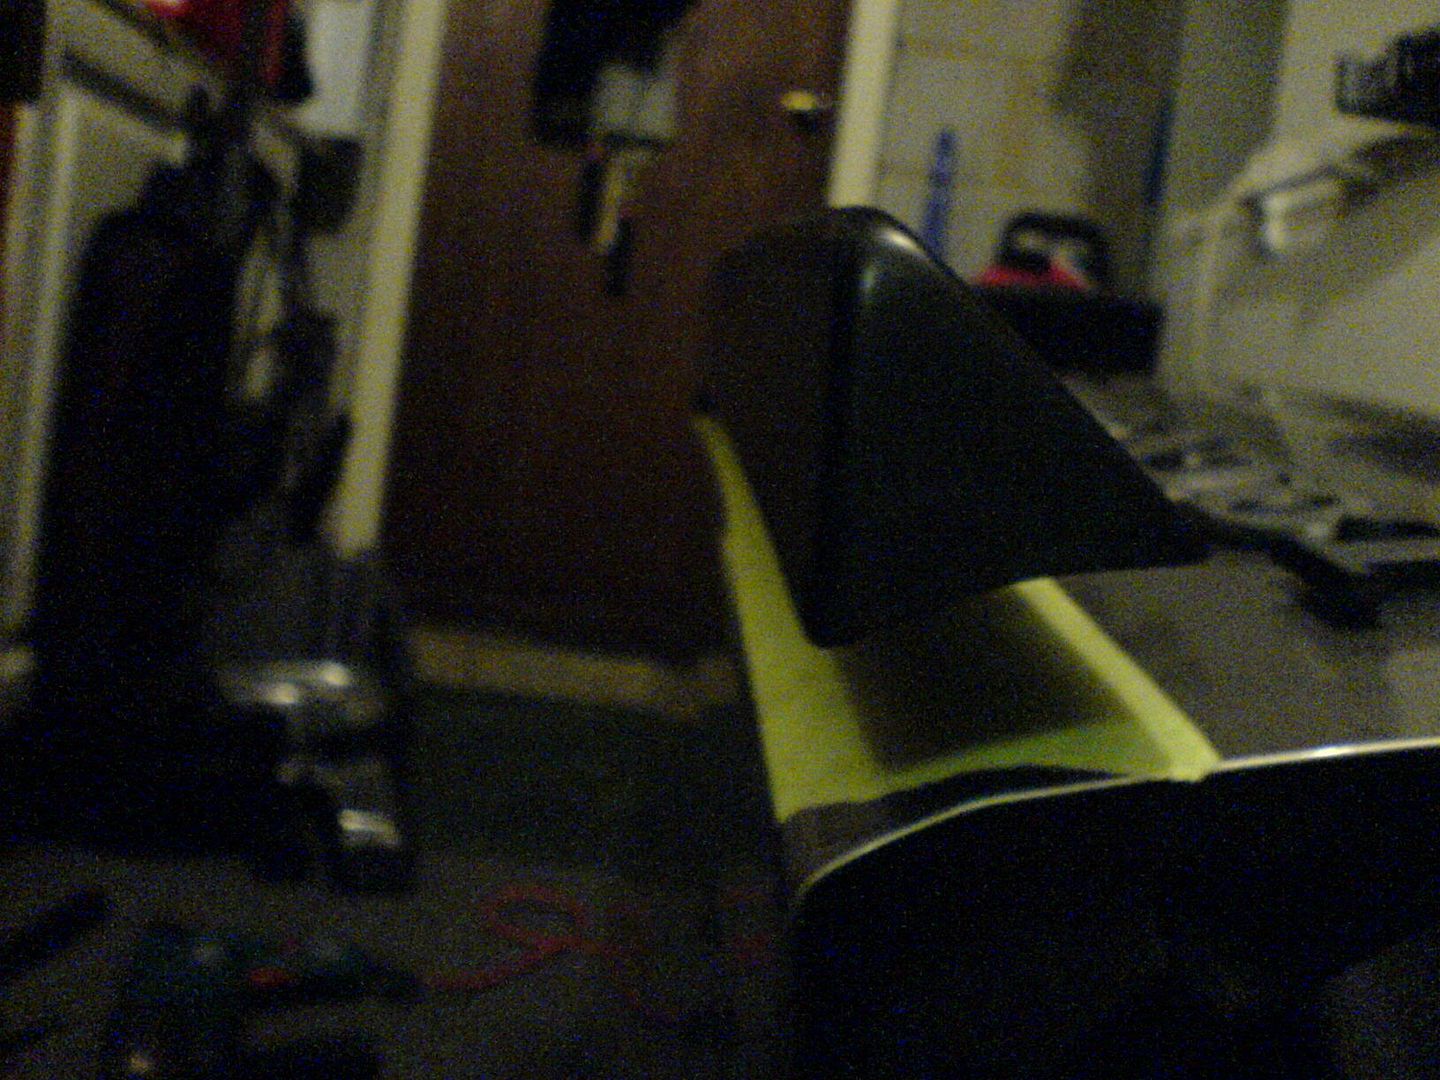
Set your spoiler on the top of the boot like so and find where your 2 lines match. You can now see that the spoiler is central at all times during installation.
Point the bolts downwards, to the points at which you want to drill. Your spoiler is central so the bolts are in the right place horizontally. Mark the positions of the bolts if they are all touching the boot surface. If they are not, only mark the centre 2 bolts! Now you must use your eyes well, look at the spoiler and boot from the side:
Make sure the top edge of the spoiler is in line with the boot's edge. (drawing a straight line between the boot's top surface and the spoiler's). Mark the position of 1 of your middle bolts. You now know the vertical measurement of your bolt hole. I suggest you draw a line accross your already drawn horizontal line to make a cross.
Measure the distance between this cross and the boot's lower edge (the edge that would be next to the lights and numberplate). Then simply use this measurement to create the correct height for the OTHER middle bolt hole which will be mirrored perfectly if you measured it correctly. Line up your spoiler's bolts on these markings and look from the side again to make sure it looks central. You're about to drill your lovely shiny boot so double and triple check!
Find a drill bit that is about the same size as your bolts, I think it was about a 10mm but check yourself. Then go and get the 11mm instead because the boot's top surface is curved and your bolts will need more room to get through. Now, drill a pilot hole with a 2 or 3mm bit on your markings. Remember that you're only drilling the centre 2 holes ONLY.
After drilling line up your bolts to sit in the small holes and look all around while you hold it there. Look from the side and see if it's still square!
If it is slightly out, don't worry! It just means that when you drill with the 11mm you'll have to use some initiative and drill slightly away from the centre of your pilot hole.
Now, drill slowly but push firm. The metal is quite soft and the drill should make light work of getting through. Having the drill too fast will probably end up in your damaging your paint somewhere you do not want to.
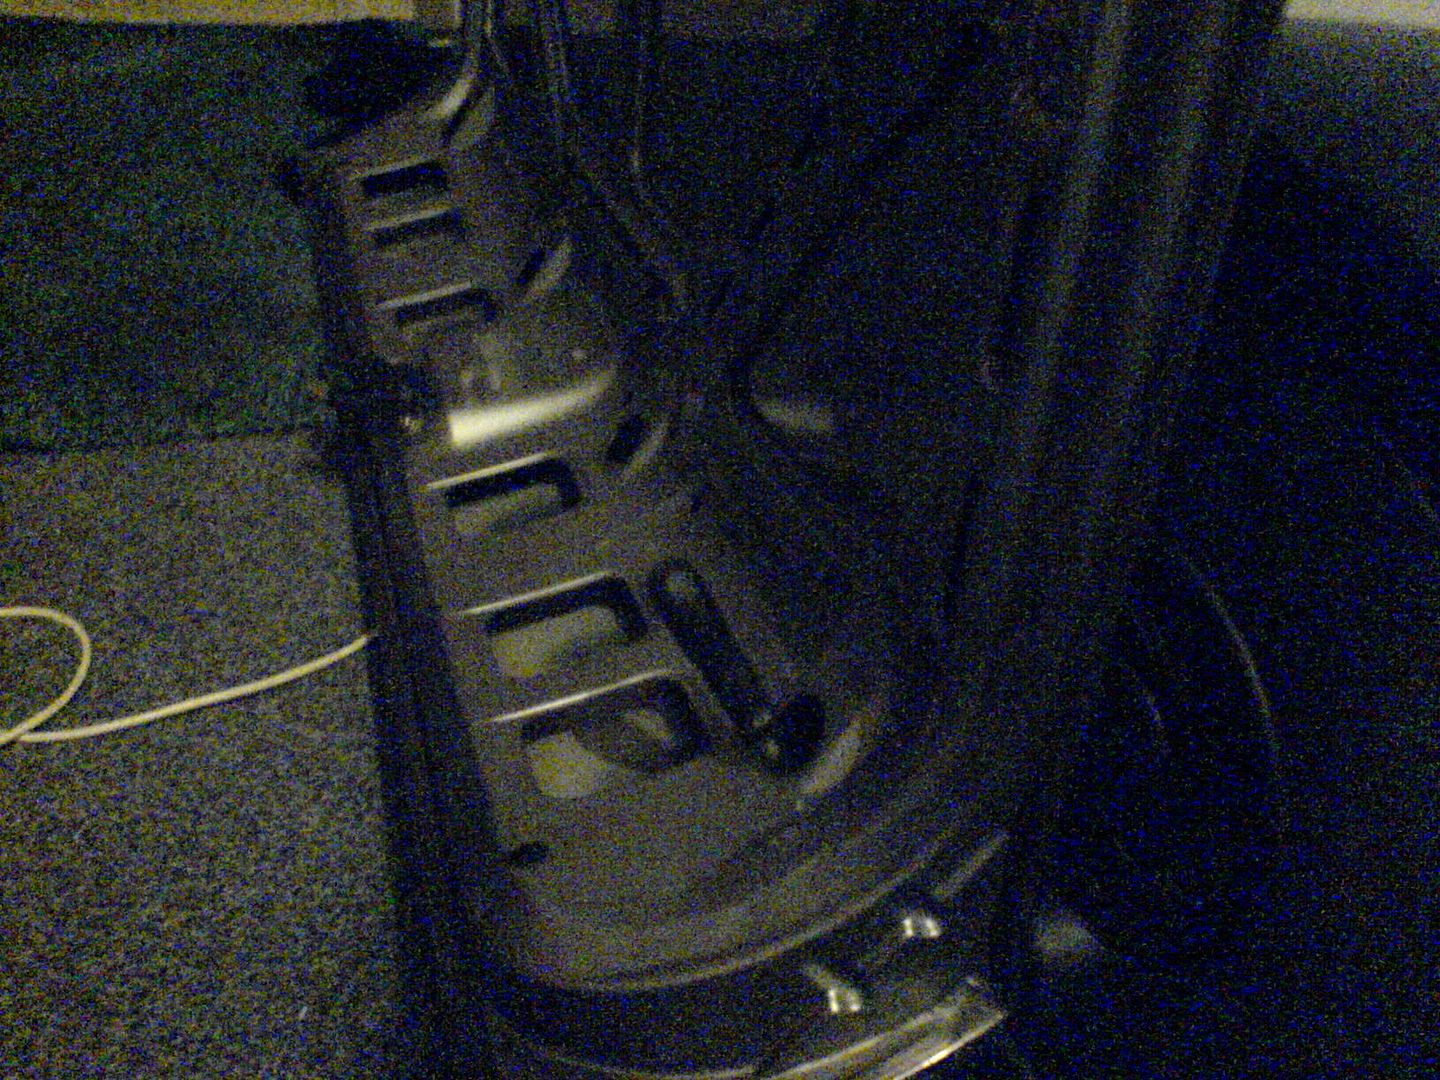
Now you have your middle holes done, sit your middle bolts in them making sure that the spoiler is the right way up! You will now have to use your eye, looking down from the side again. The spoiler will not be dead straight because it's made of rubber so you'll have to pull the ends, one at a time until you think that it is correctly in line with the boot. Mark your bolt position and do ONE side's pilot hole.
Now drill hole 3 into 11mm and now you'll see the thing coming together. Hole 4 will be the easiest one to do as the spoiler will be sitting pretty in the other 3 holes.
After drilling hole 4, make sure the spoiler sits flush when in the holes. Hold it flat against the boot, is it where you want it to be? If not, bore out the current holes or drill new ones to make it sit higher/lower. My final result as you will see in a minute sits too low for my personal preference. It's at least 3mm too low but then I'm a bit of a perfectionist.
Make sure you now PAINT your holes on the inside and on any exposed metal. I suggest official volvo touch up paint in your car colour. Or whatever, you're not going to see it anyway. Do this or they will rust and eventually destroy all your hard work!
After the paint is dry, bolt on your spoiler. Volvo placed these holes on the inside which are in the perfect position as this is a GLT standard part
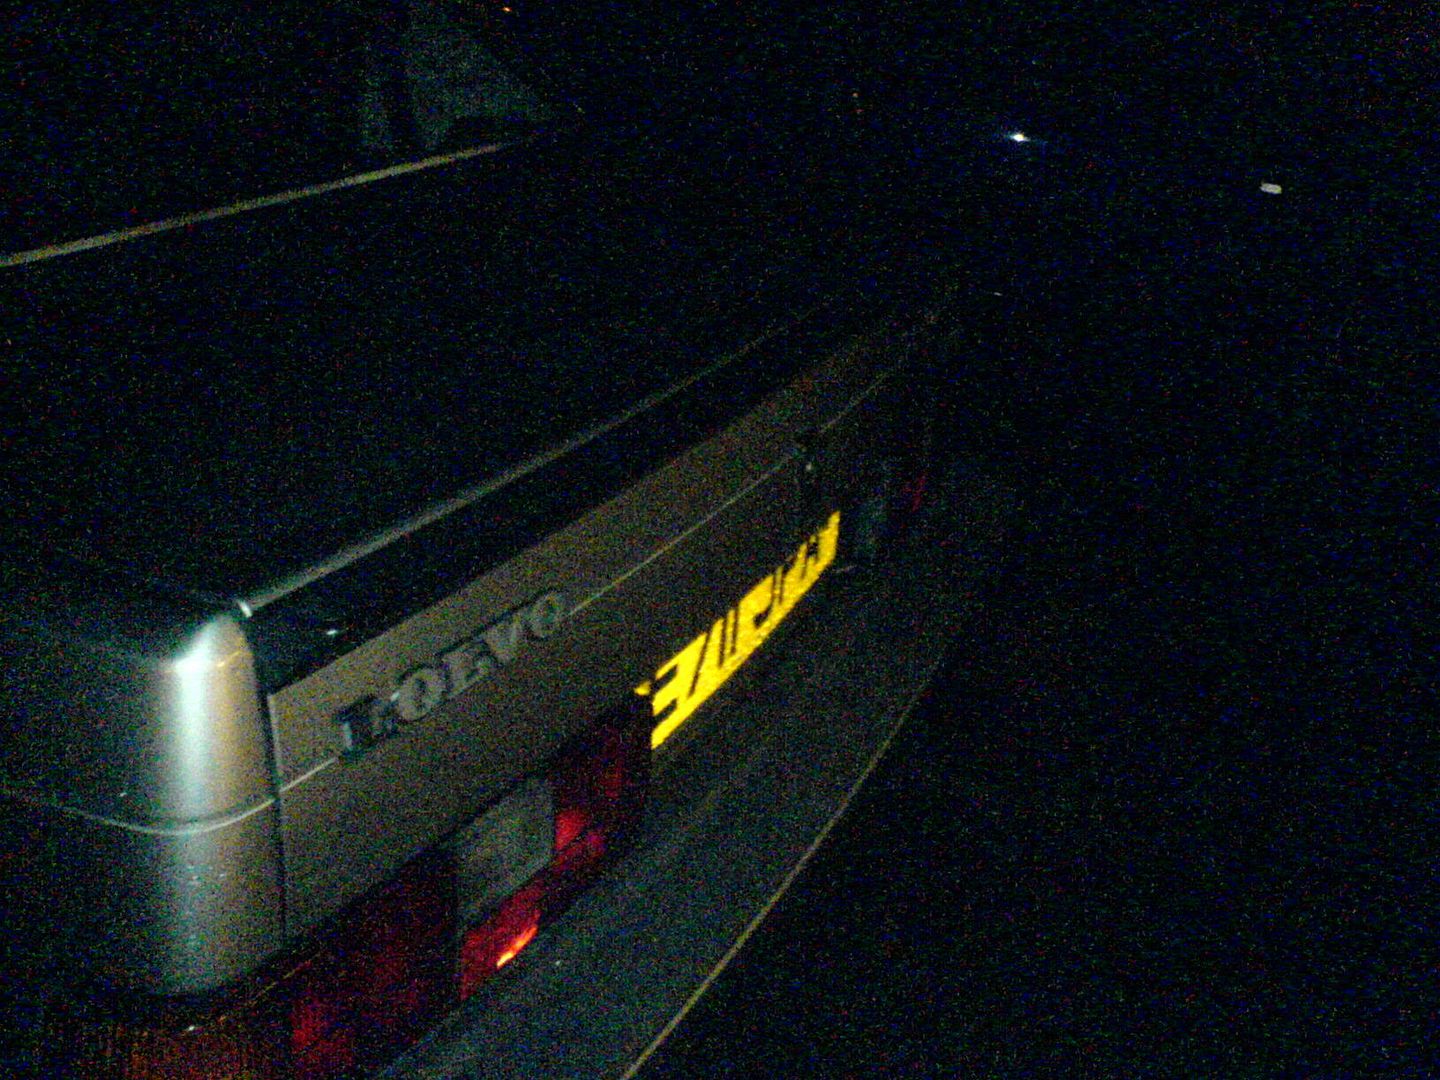
NOW we're looking sexy:

Bolt your boot back on, preferably before torrential rain, and you're done!
Bolting your spoiler on, piece of piss evening job.